COLAB-5G
What is it?
COLAB-5G is a set of modifications to the ns3-COLAB, integrating the 5G-RANGE physical layer model to the LTE stack, along with a new channel model, timing adjustments for the MAC layer and additional collaborative sensing techniques to mitigate Byzantine attacks.
How to cite?
Check the paper in the link.
How to install?
The first step is cloning the NS3.30.1-colab5g.
As in the installation instructions for the ns-3 with CMake, before proceeding you will need at least g++, make, cmake, unzip, curl and tar.
After downloading and installing these tools, you can either run cmake manually, as follows
mkdir cmake
cd cmake
cmake ..
or you can use an IDE that supports CMake projects (Jetbrains CLion is the best one), that will load and run CMake automatically after opening the project folder.
During the cmake .. command, VcPkg will be compiled and then will download and build required dependencies.
After it finishes, you will have multiple targets (for libraries and executables).
You can change the configuration in the editing the main CMakeLists.txt or pass the arguments throught the command line. Every flag change will require to re-run the cmake command.
You can build your target with make.
How to use?
An example is provided in the scratch folder (collaborative_sensing_demonstration_json.cc), that can be built with make collaborative_sensing_demonstration_json.
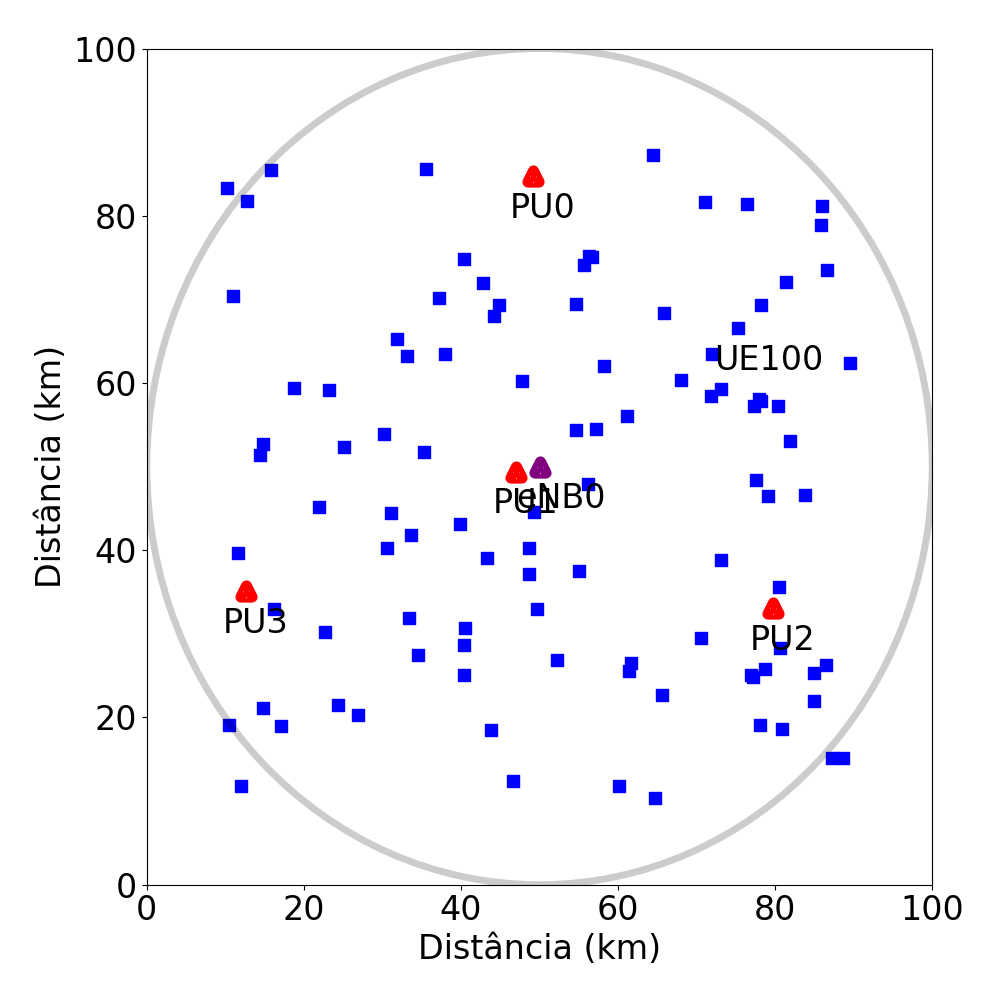
This example requires a json file with simulation parameters (simulationParameters.json). Examples can be found in the scratch folder, and can be automatically generated using the NS3/simulationModel.py script.
For instructions on how to configure spectrum sensing probability curves, check the How to use? section in the ns3-COLAB page.
For this example, you can choose the collaborative sensing fusion algorithm either by changing the ID in the simulationParameters.json file or manually changing default value in the source file (.cc) of the simulation.
Be aware that your probability curves are usually based on spectrum sensing techniques dependant on the bandwidth sensed by the UEs. You will need to adjust the amount of RBs/RBGs sensed in your simulations to match this bandwidth.
I’ve run the example, now what?
Open the sensing_list.txt file that should be next to the sensingParameters.json. It will contain the results for the different channels, average number of reported subframes per UE, total number of fusions, plus the number and ratio of false alarms (false positives) and miss detections (false negatives), from which you can calculate the accuracy of a given fusion algorithm in that scenario. The average reporting ratio of subframes (which indicate how much the individual spectrum sensing fluctuates and requires reporting) can also be computed.
One example of the sensing_list.txt output is presented below for the scenario with the annexed simulationParameters.json.
For subchannel 0 average of 849.99 bits per UE transmitted :
From 9976 fusions, 4819 were false positive and 0 were false negative.
Total false positives were 62.7392% (4819) of 7681 subframes.
Total false negatives were 0% (0) of 2295 subframes.

For subchannel 1 average of 510.64 bits per UE transmitted :
From 9976 fusions, 5783 were false positive and 0 were false negative.
Total false positives were 62.7632% (5783) of 9214 subframes.
Total false negatives were 0% (0) of 762 subframes.

For subchannel 2 average of 898.97 bits per UE transmitted :
From 9976 fusions, 4934 were false positive and 0 were false negative.
Total false positives were 63.5415% (4934) of 7765 subframes.
Total false negatives were 0% (0) of 2211 subframes.

For subchannel 3 average of 775.07 bits per UE transmitted :
From 9976 fusions, 4877 were false positive and 0 were false negative.
Total false positives were 64.1373% (4877) of 7604 subframes.
Total false negatives were 0% (0) of 2372 subframes.