Installation with Eclipse CDT
3.0 Preparing Eclipse CDT
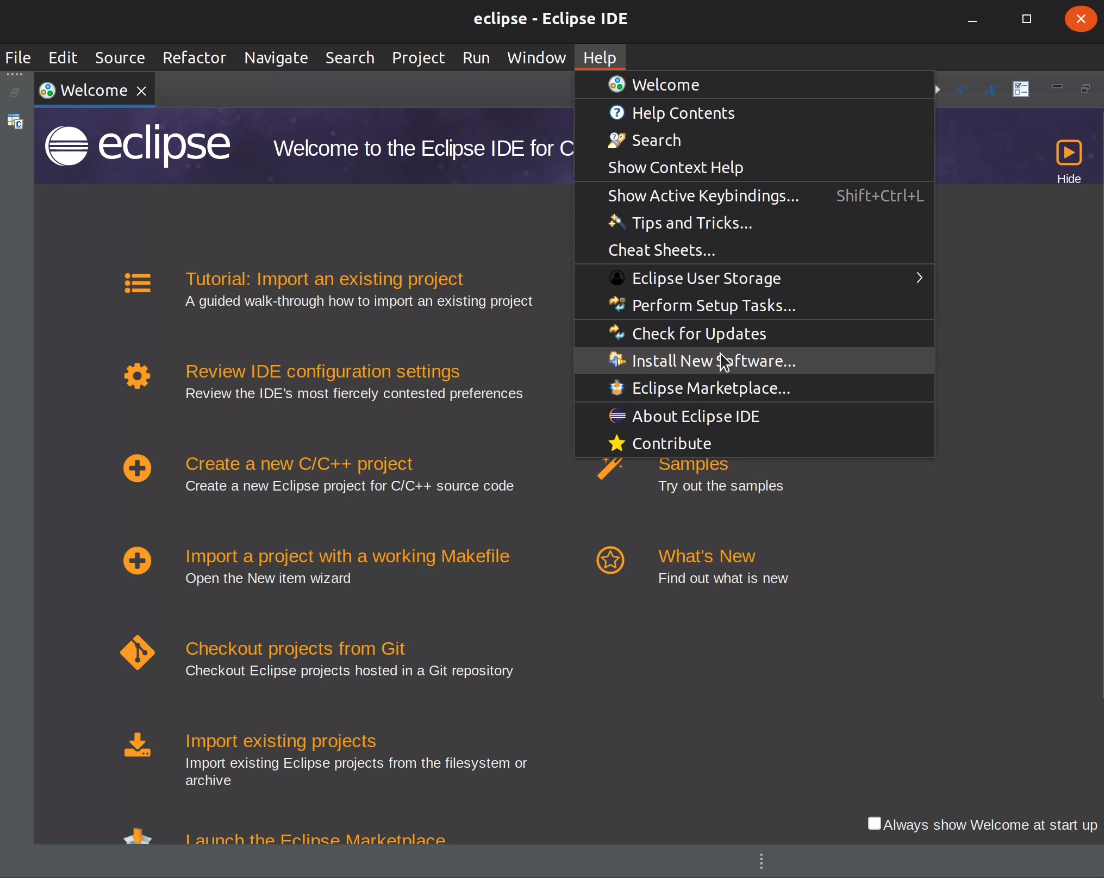
Start by downloading Eclipse.
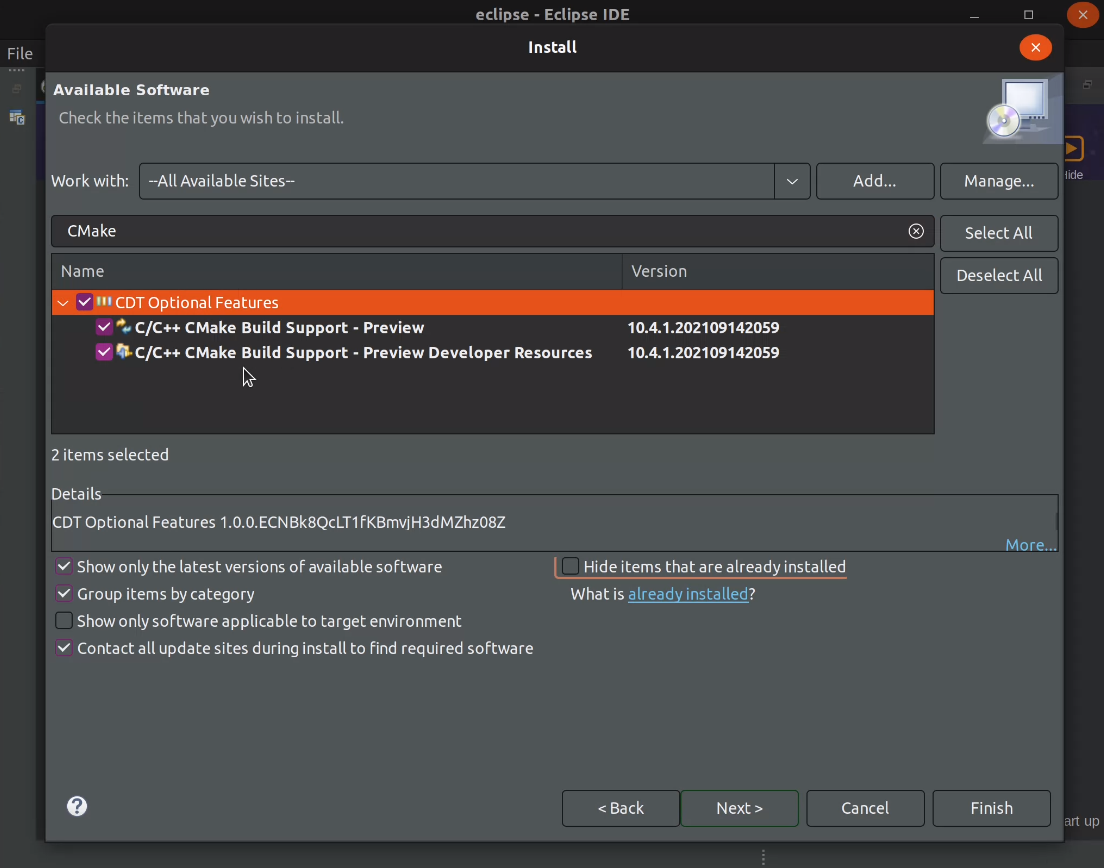
Then unpack it and install the CMake plugins.
This can be done accessing the “Help->Install new software…”
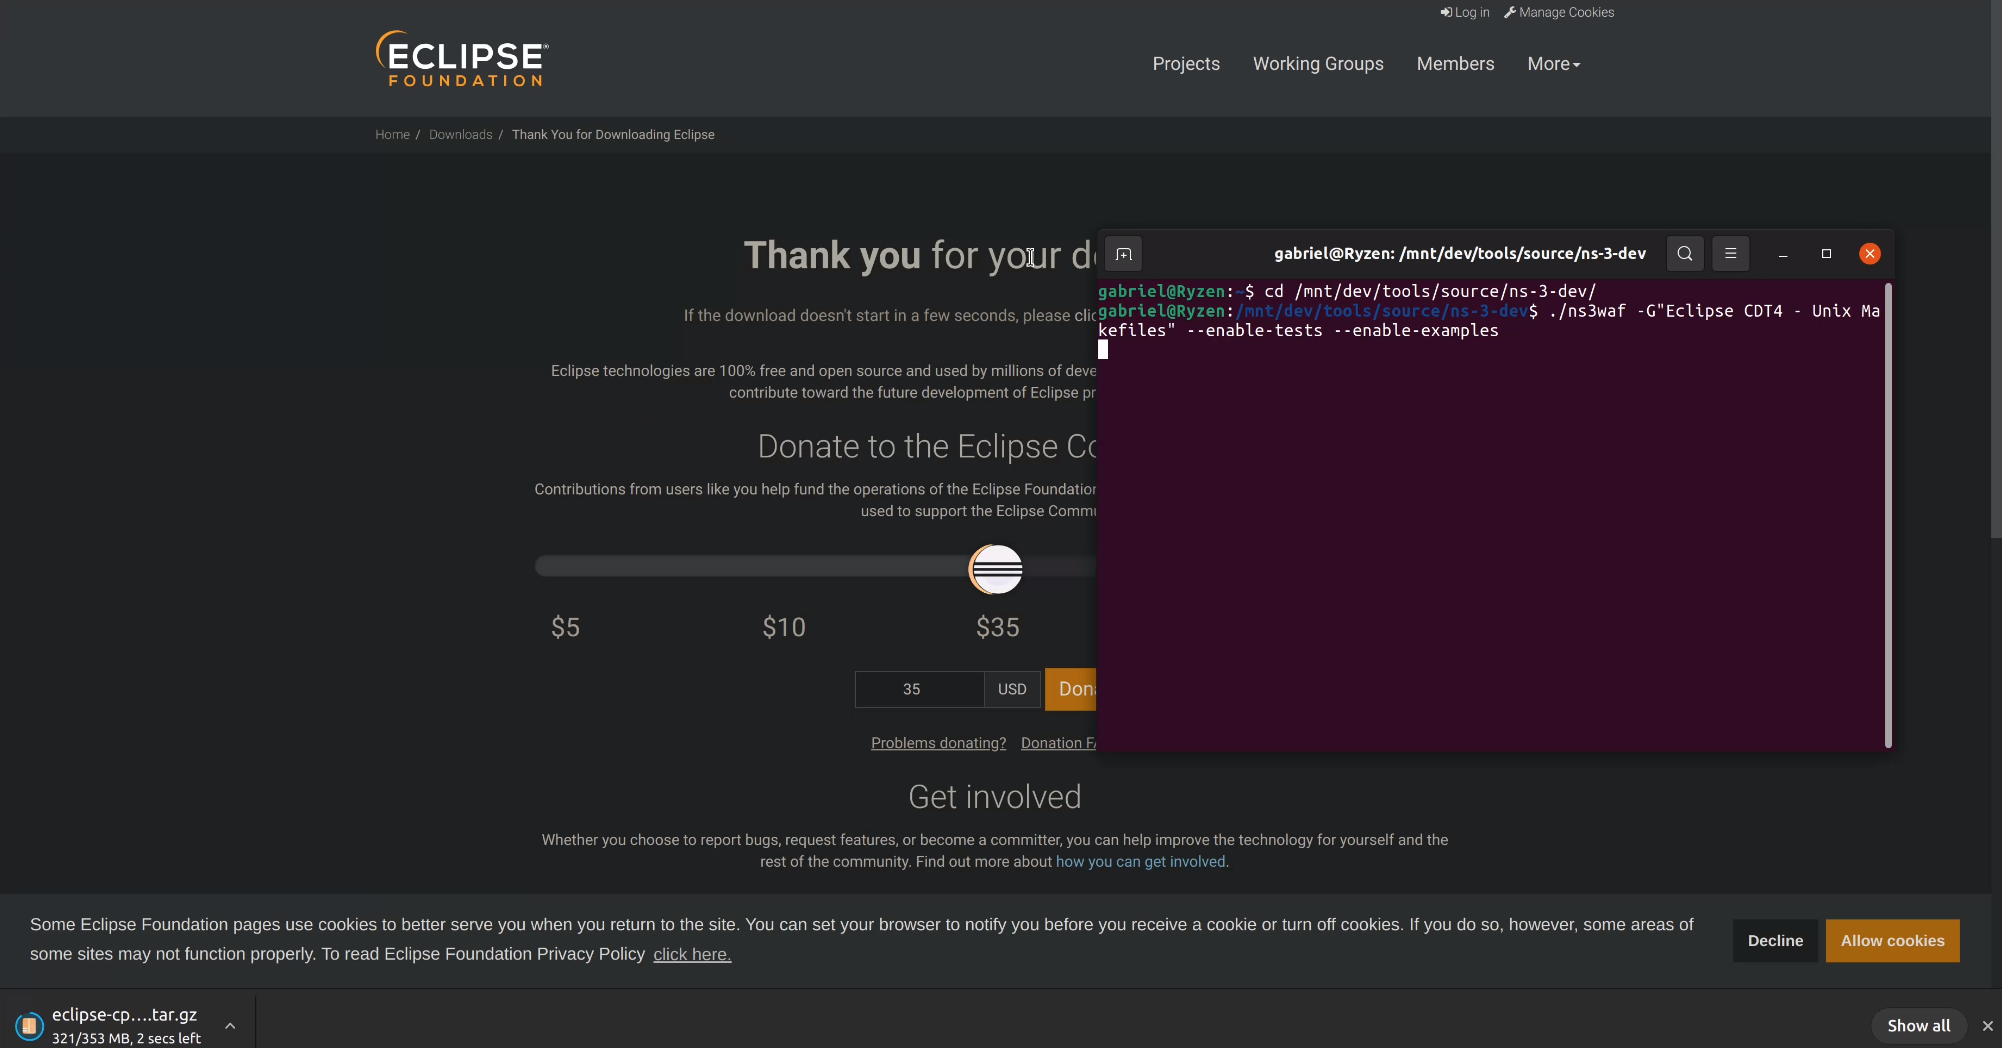
3.1 Configuring ns-3 with the command line with Eclipse CDT
Configuring the project can be done either directly via CMake or via ns3waf.
For Eclipse we need the -G"Eclipse CDT4 - Unix Makefiles" generator, where -G is the flag
that allows us to specify the generator we want to use.
3.2 Opening the project with Eclipse CDT
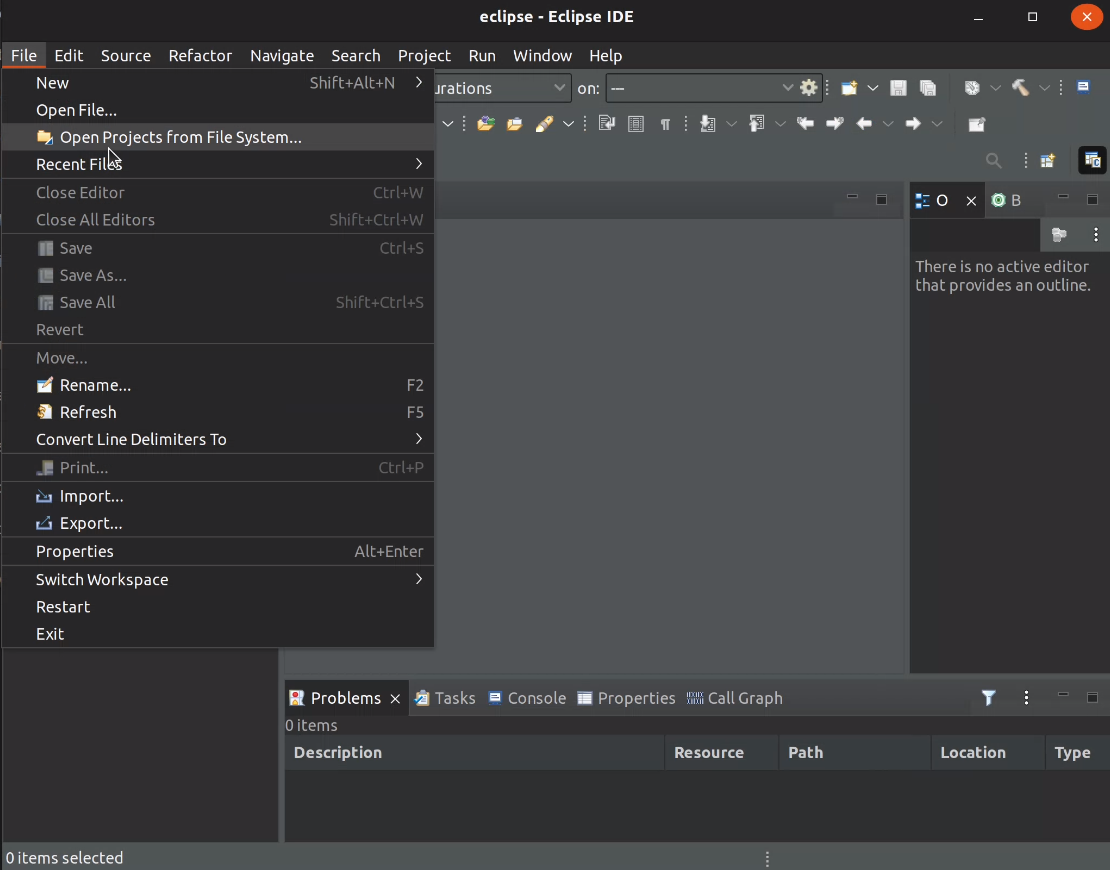
Click to open the project folder
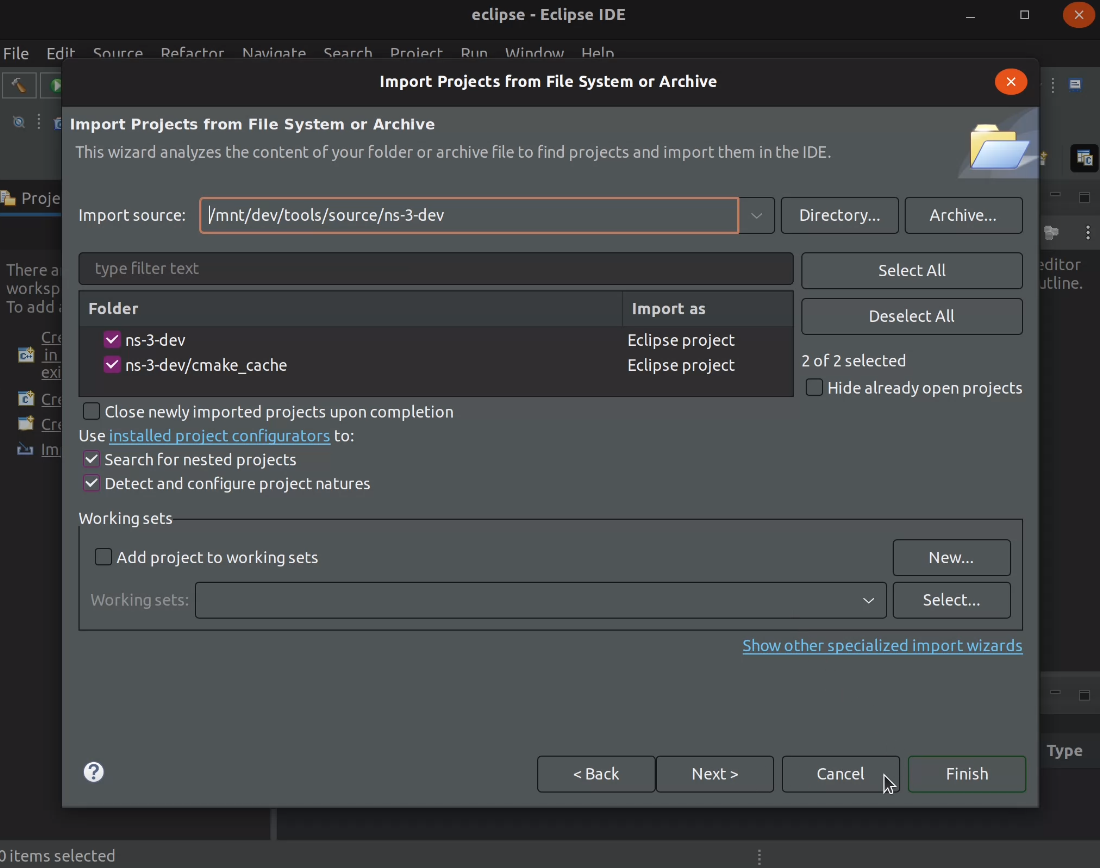
Specify the ns-3-dev folder (or whatever you have named it), it will take a while to scan and
will show both the top level project and the CMake cache folder.
The project will open and build targets will be listed on the right while sources are in the left.
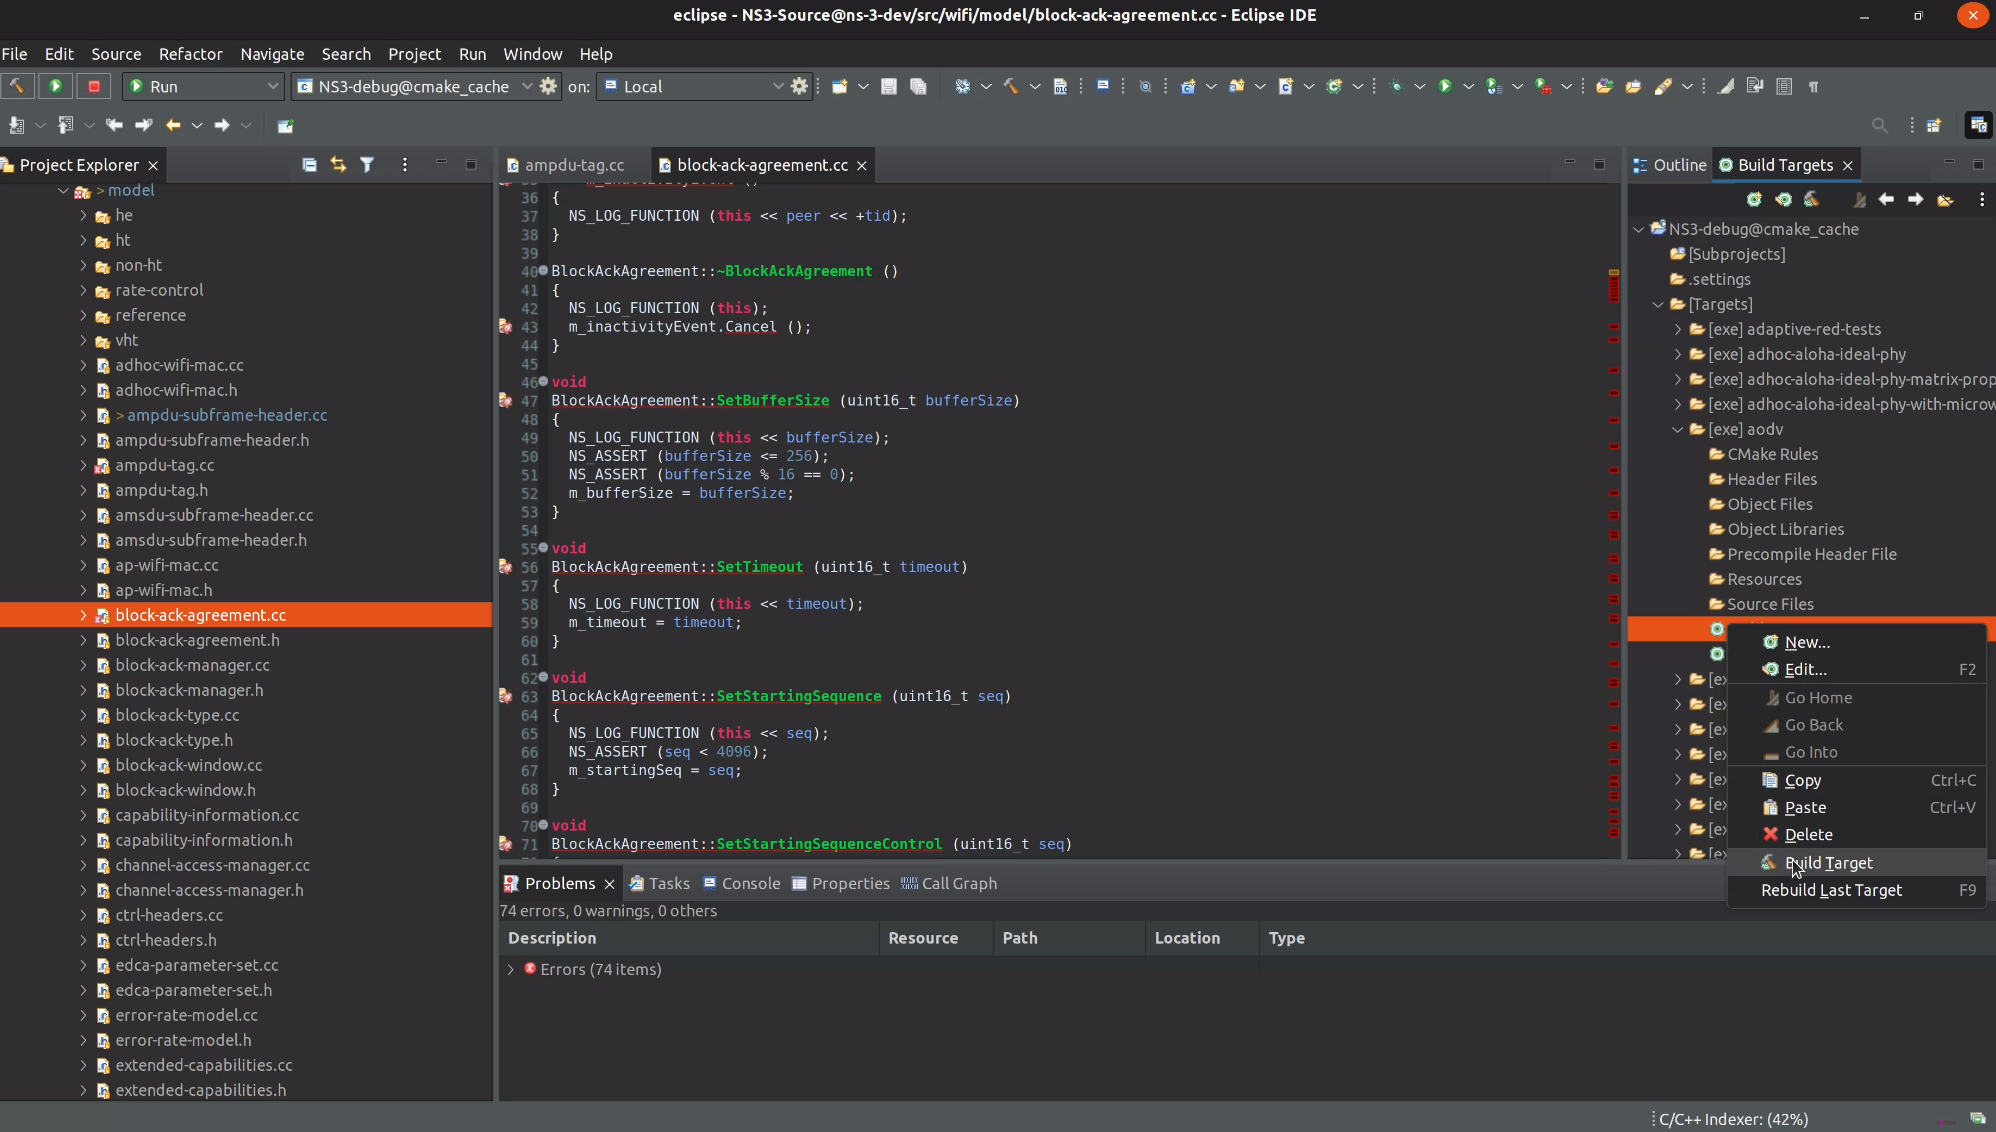
Auto-completion and other source-code related analysis take a while to begin working, while the C++ indexer runs (look at the bottom right of the window).
3.3 Building targets with Eclipse CDT
Select one of the targets, open the folders until you find a build target for that specific target. The bottom panel will show the build progress.

3.4 Running executables with Eclipse CDT
Not sure if I missed something, but for now it is quite laborious to get these working.
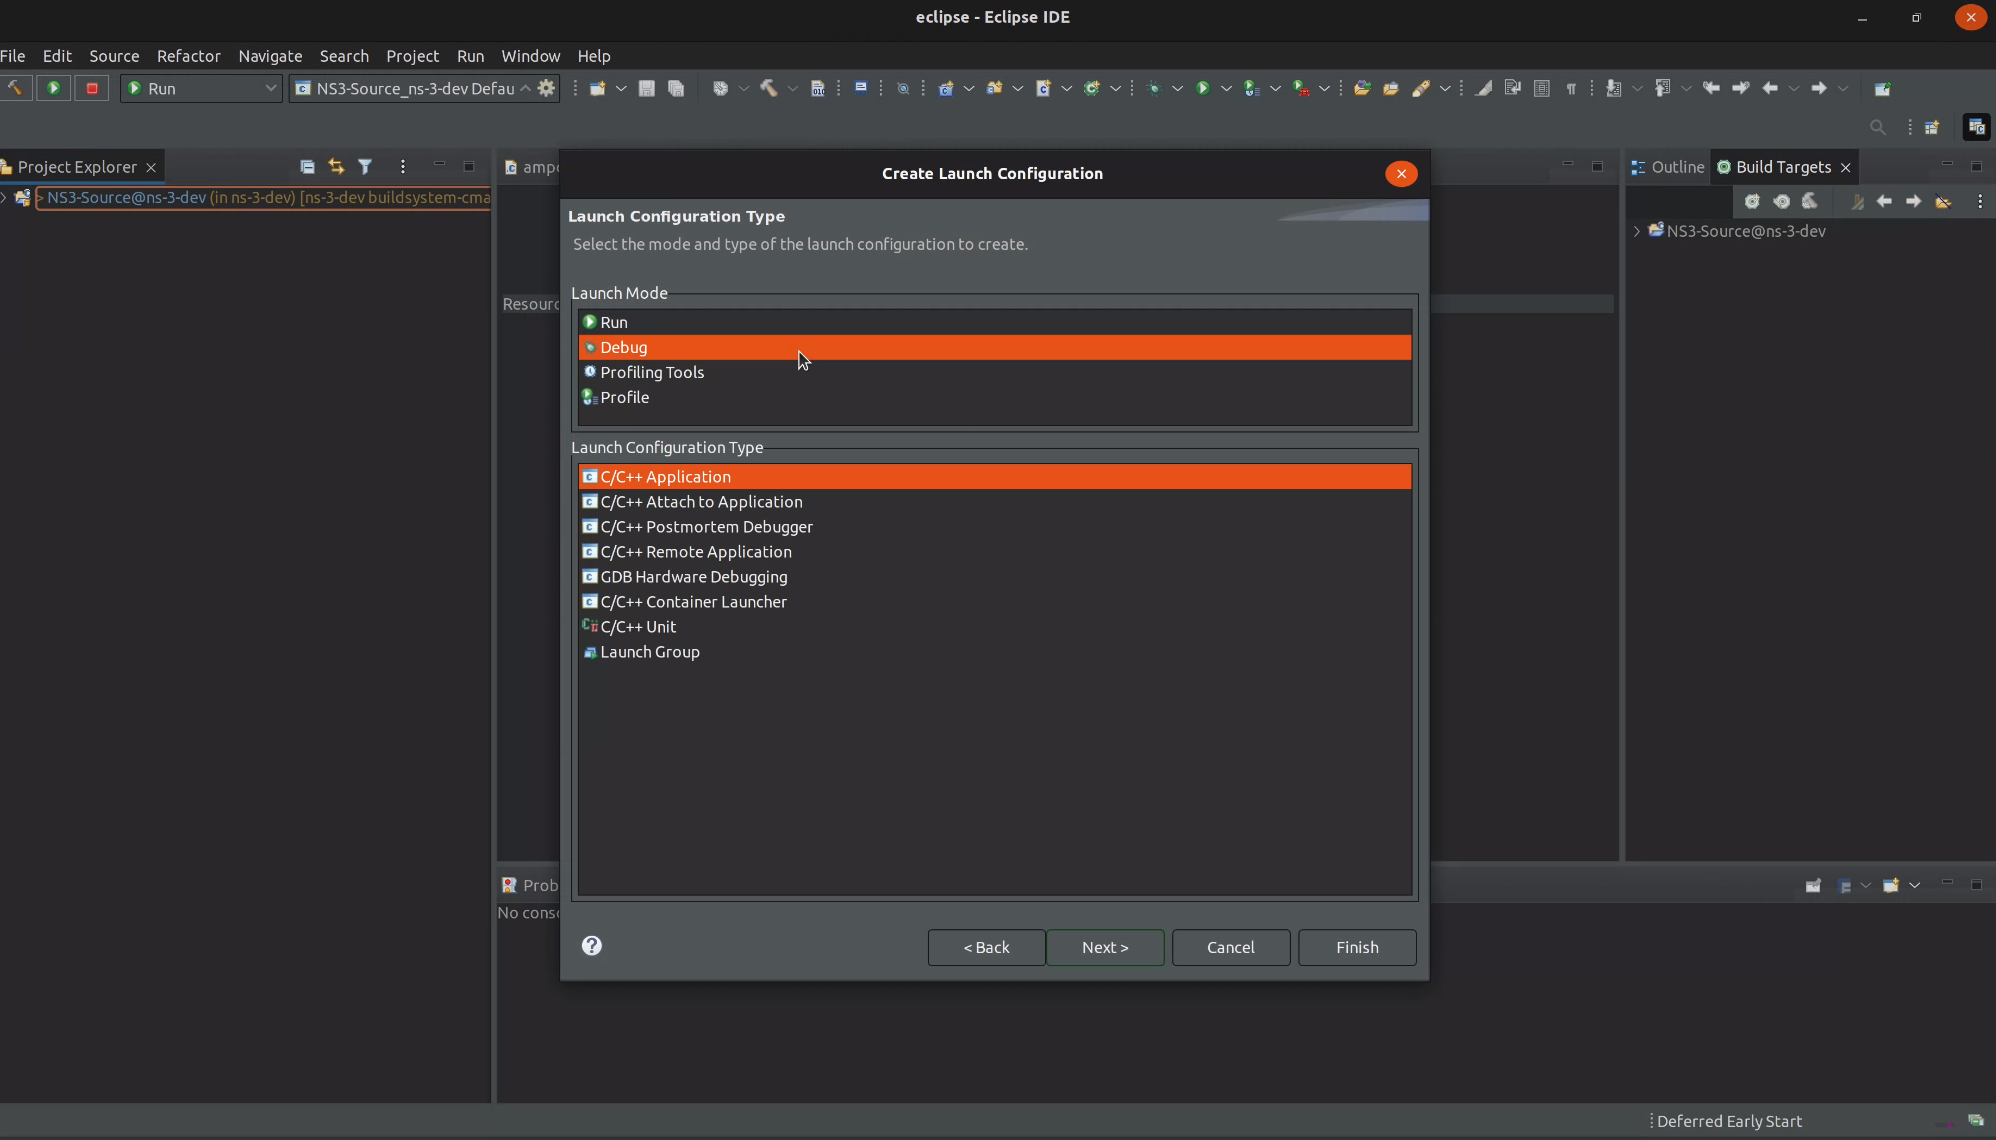
First you click to create a new run target.
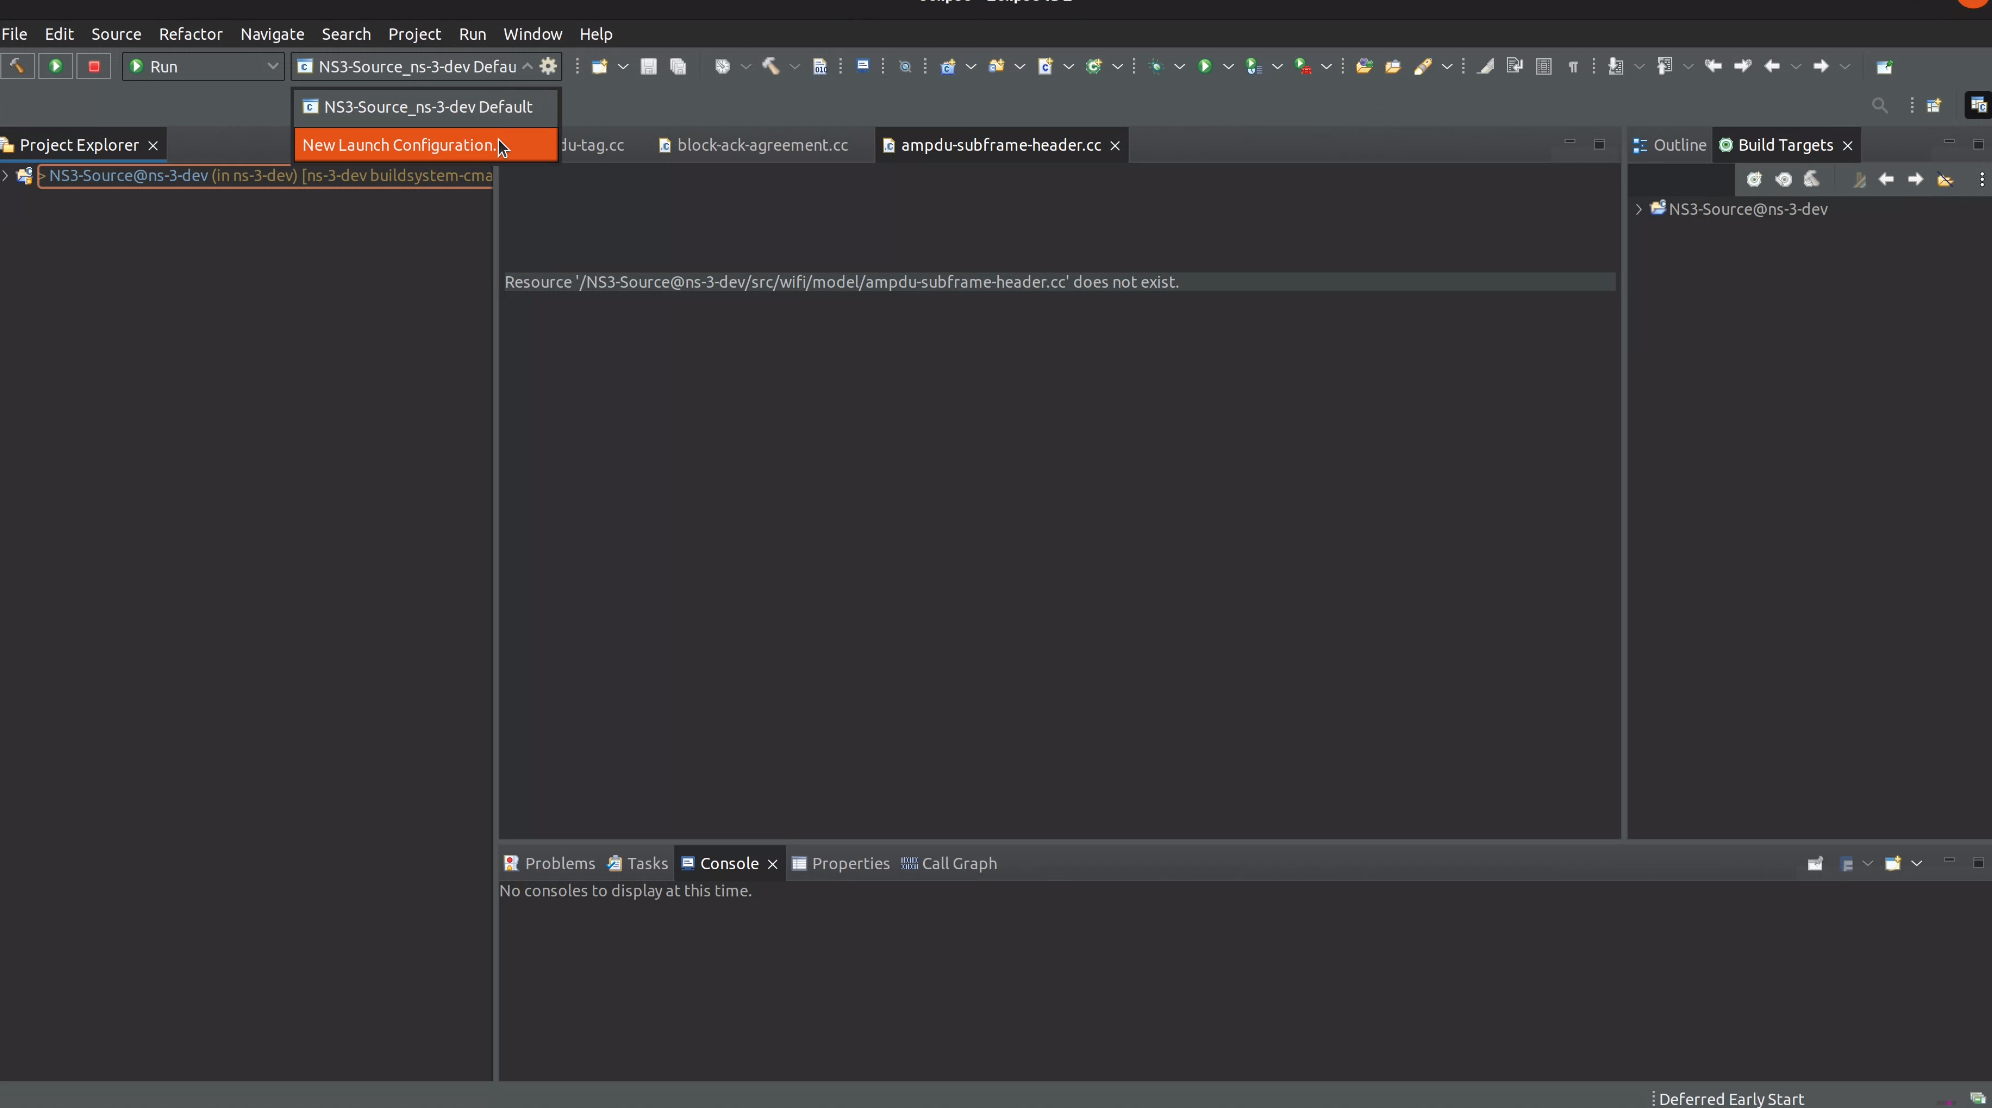
Then you choose the type of the target
Then you select the name of the target and path to the binary in ns-3-dev/build/.
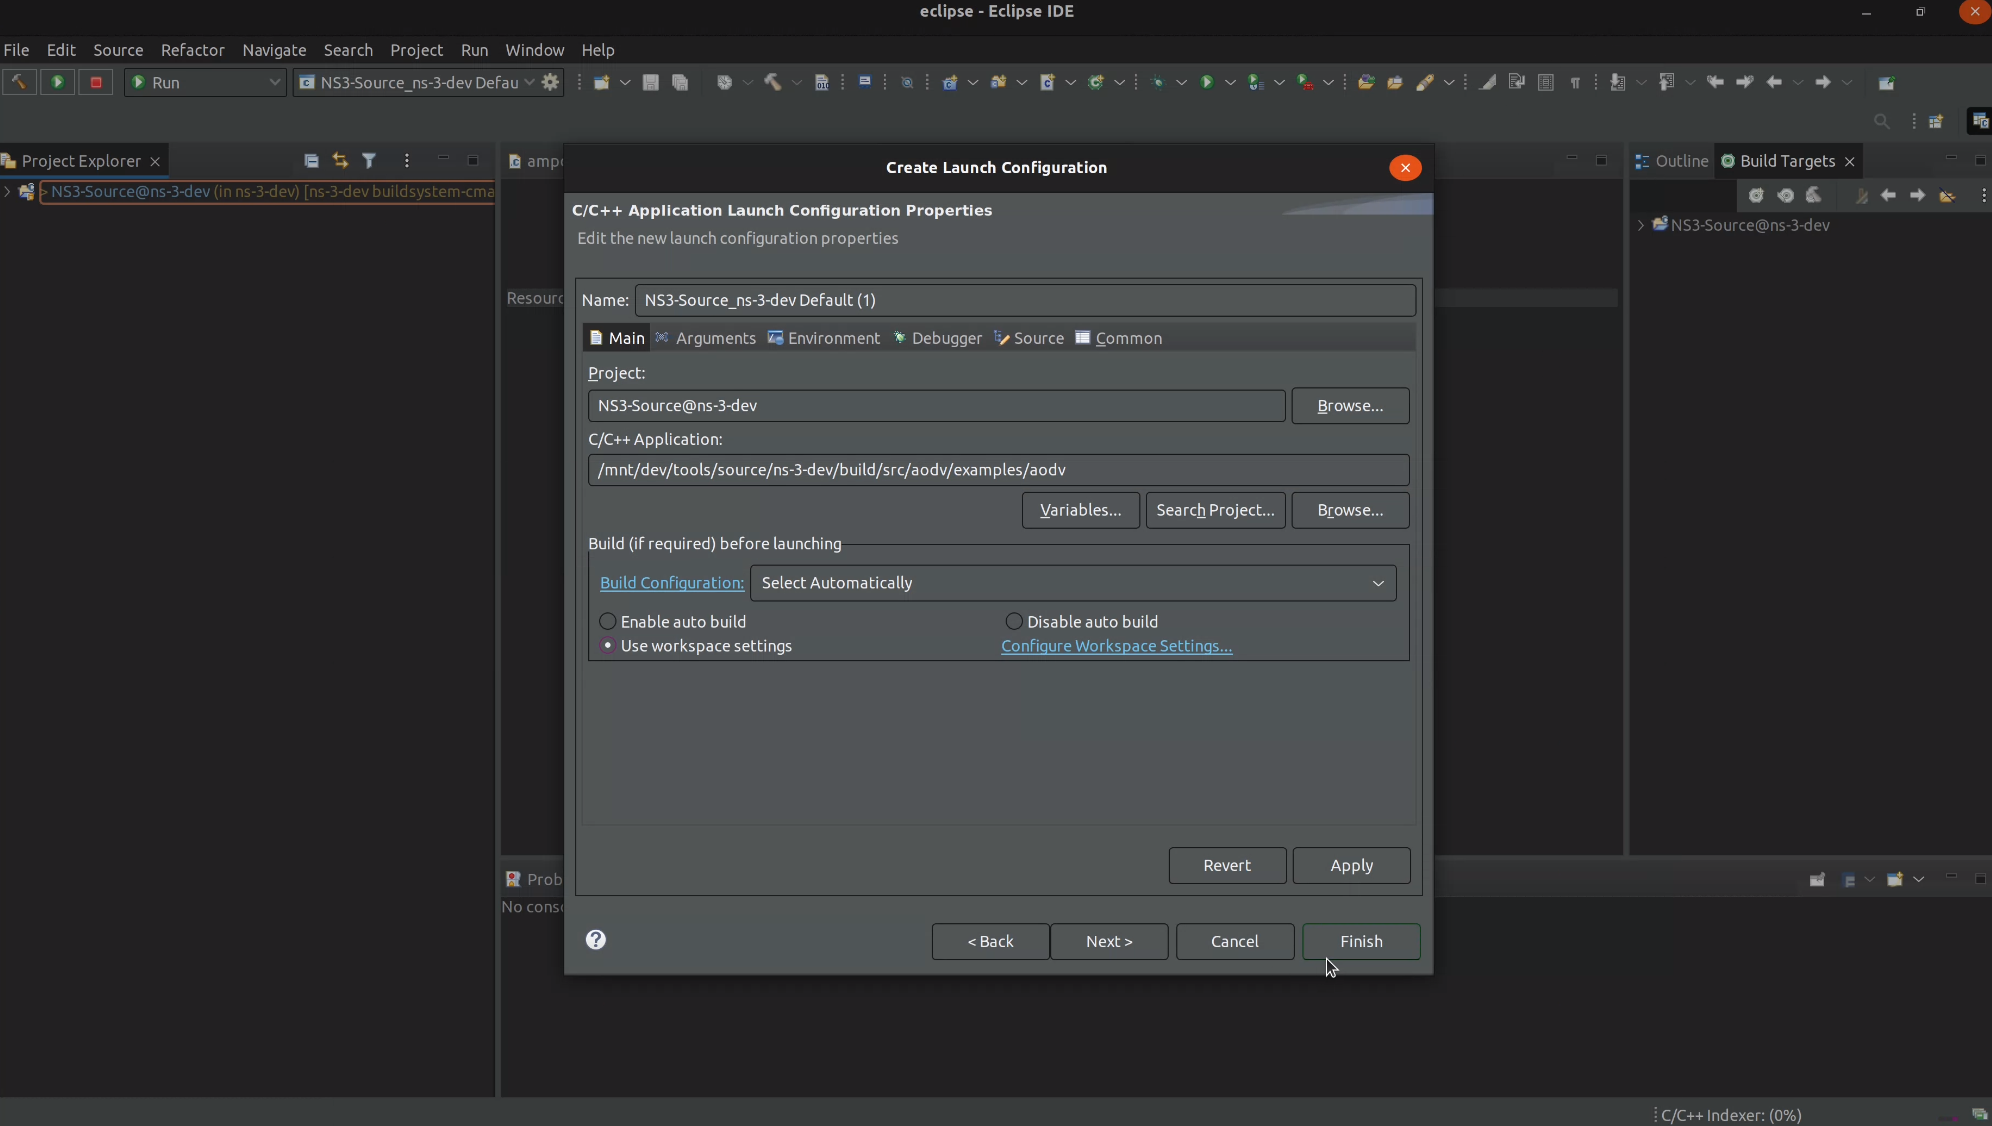
This is quite bizarre since CLion, Xcode, Visual Studio, Code::Blocks and others do that automatically…
OK, now we select the run target in the dropdown menu on the top left or
just click to run/debug and choose later.
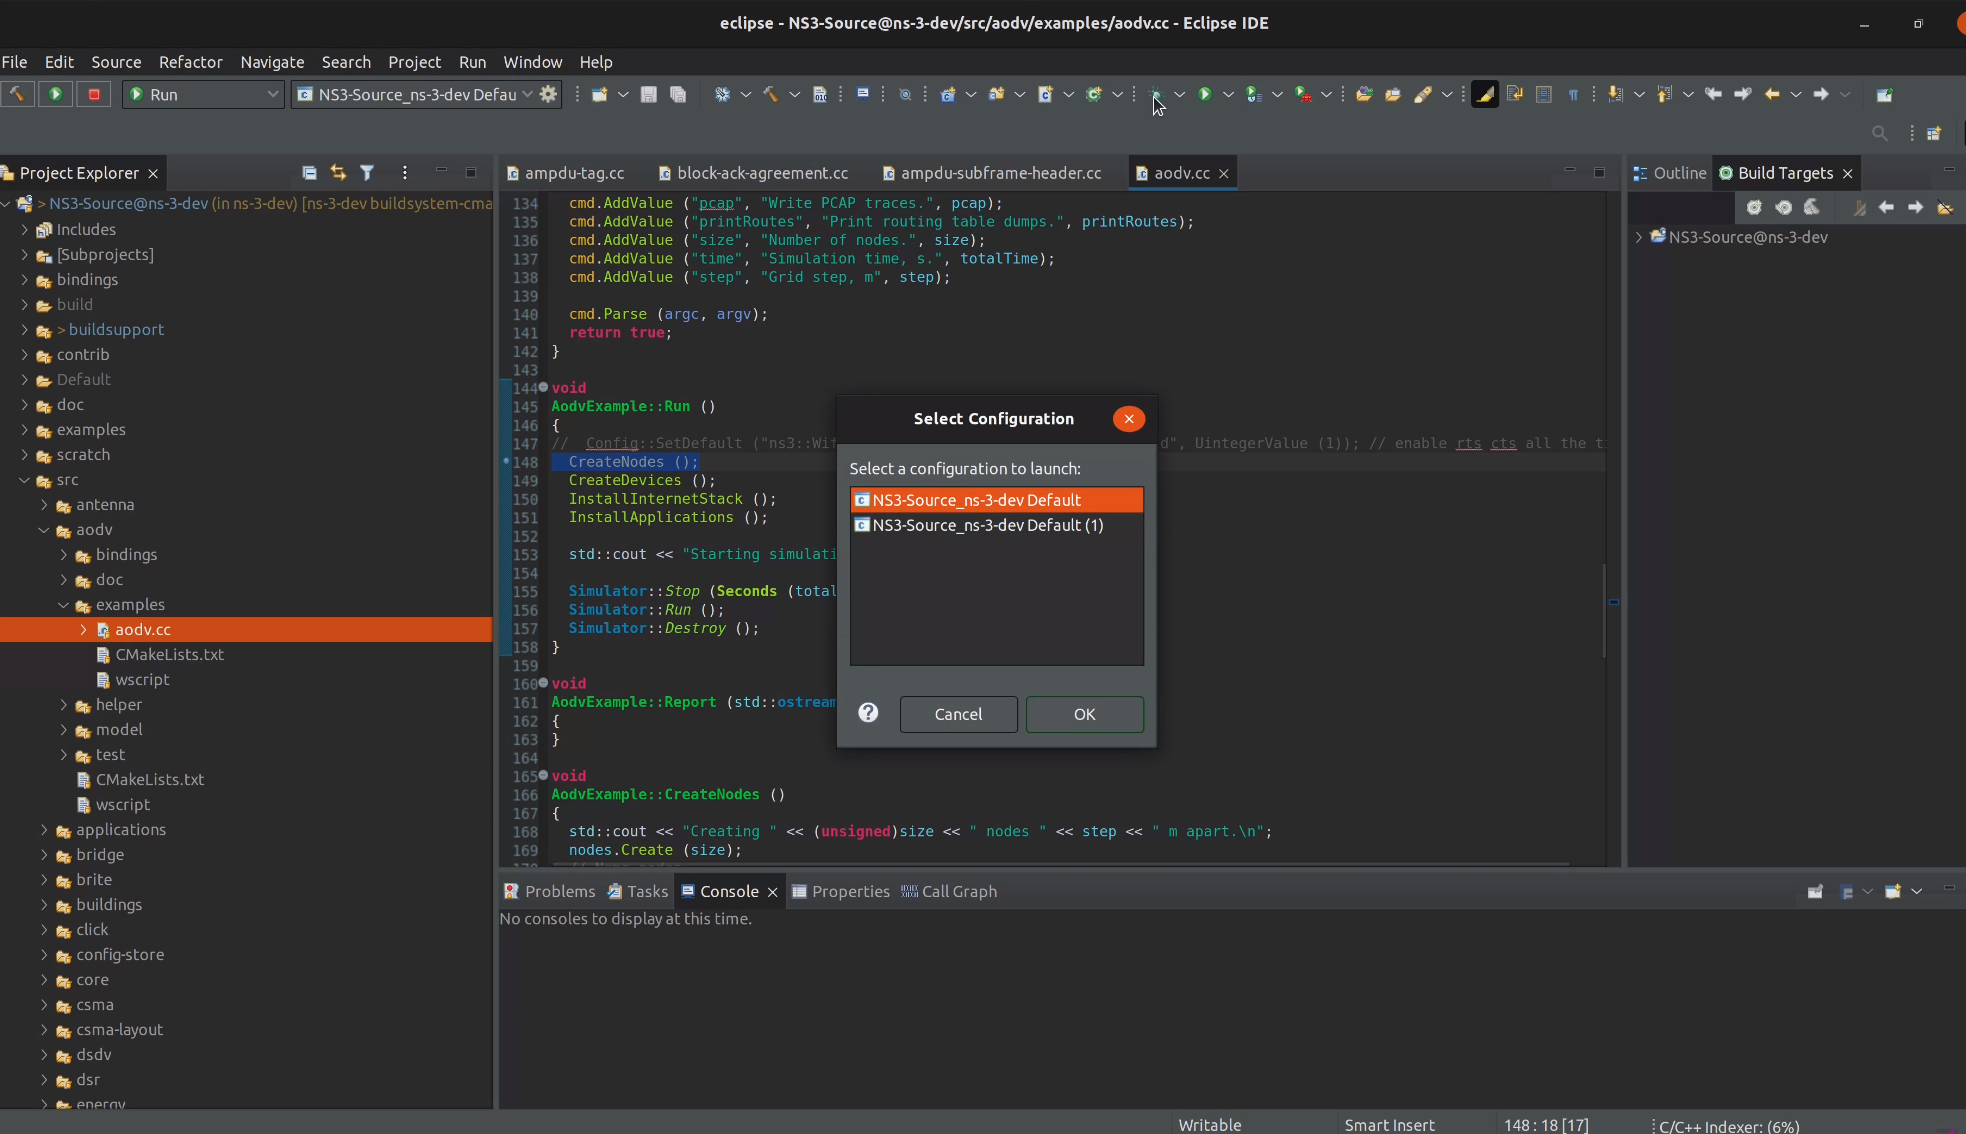
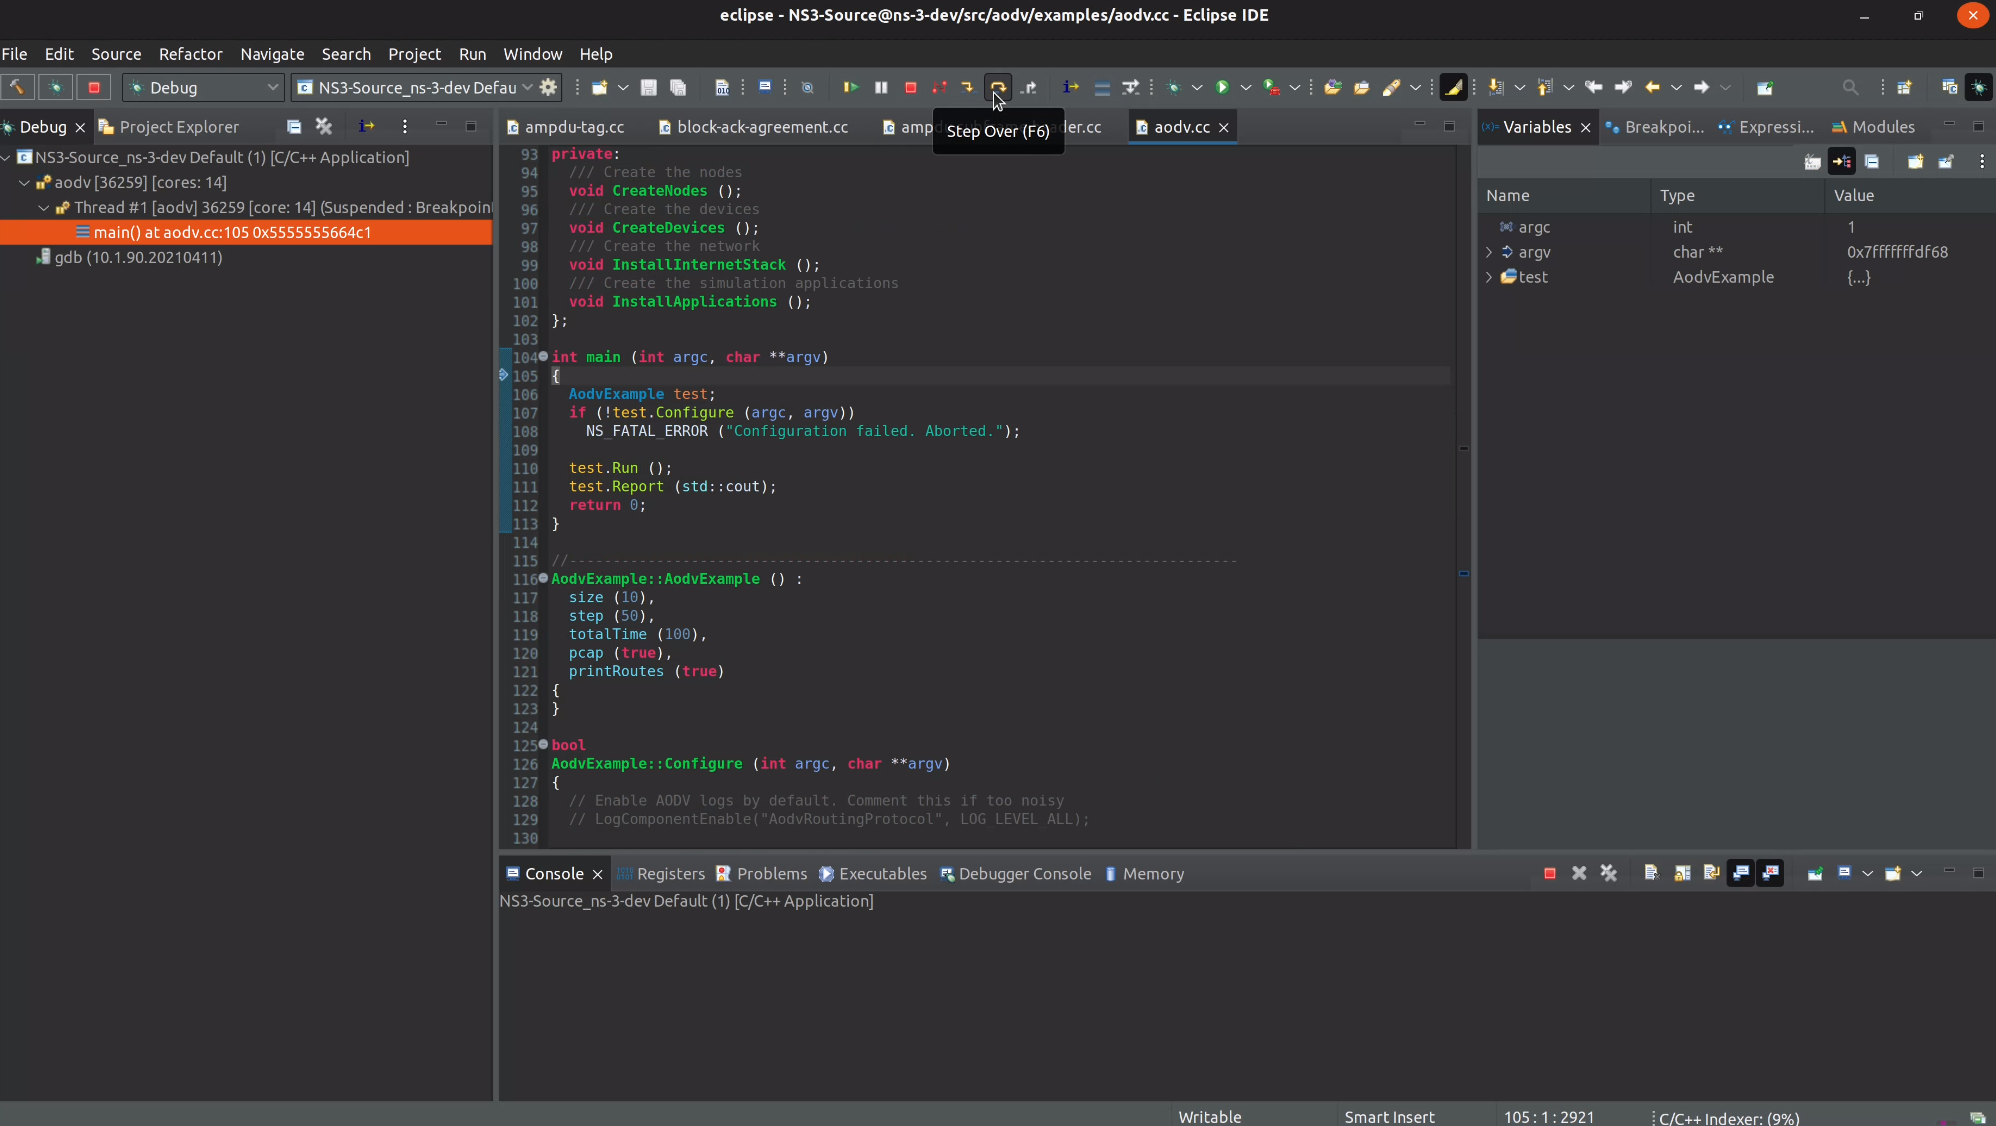
Now we can set breakpoints and debug.