Installation with Visual Code
3.0 Install Visual Code
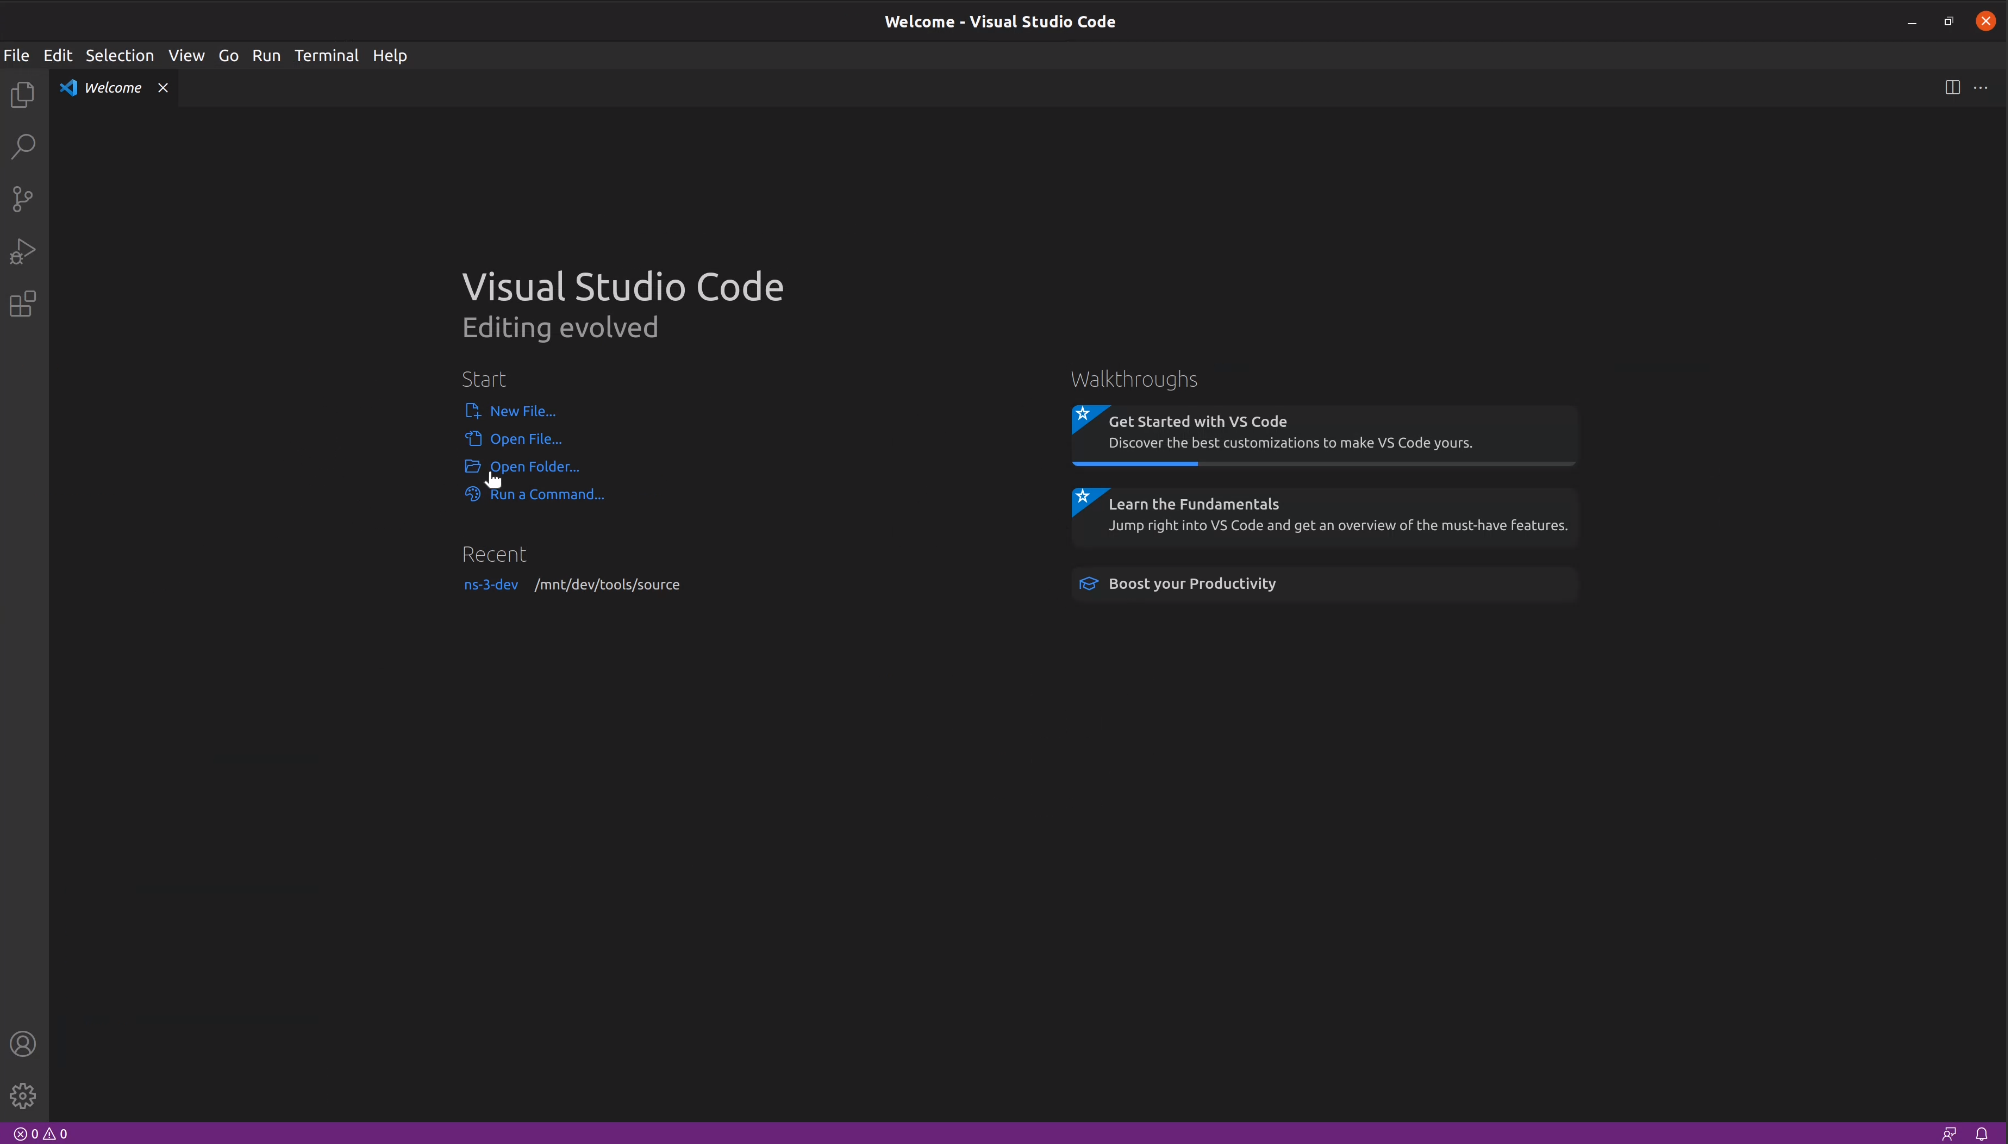
Start by downloading VS Code.
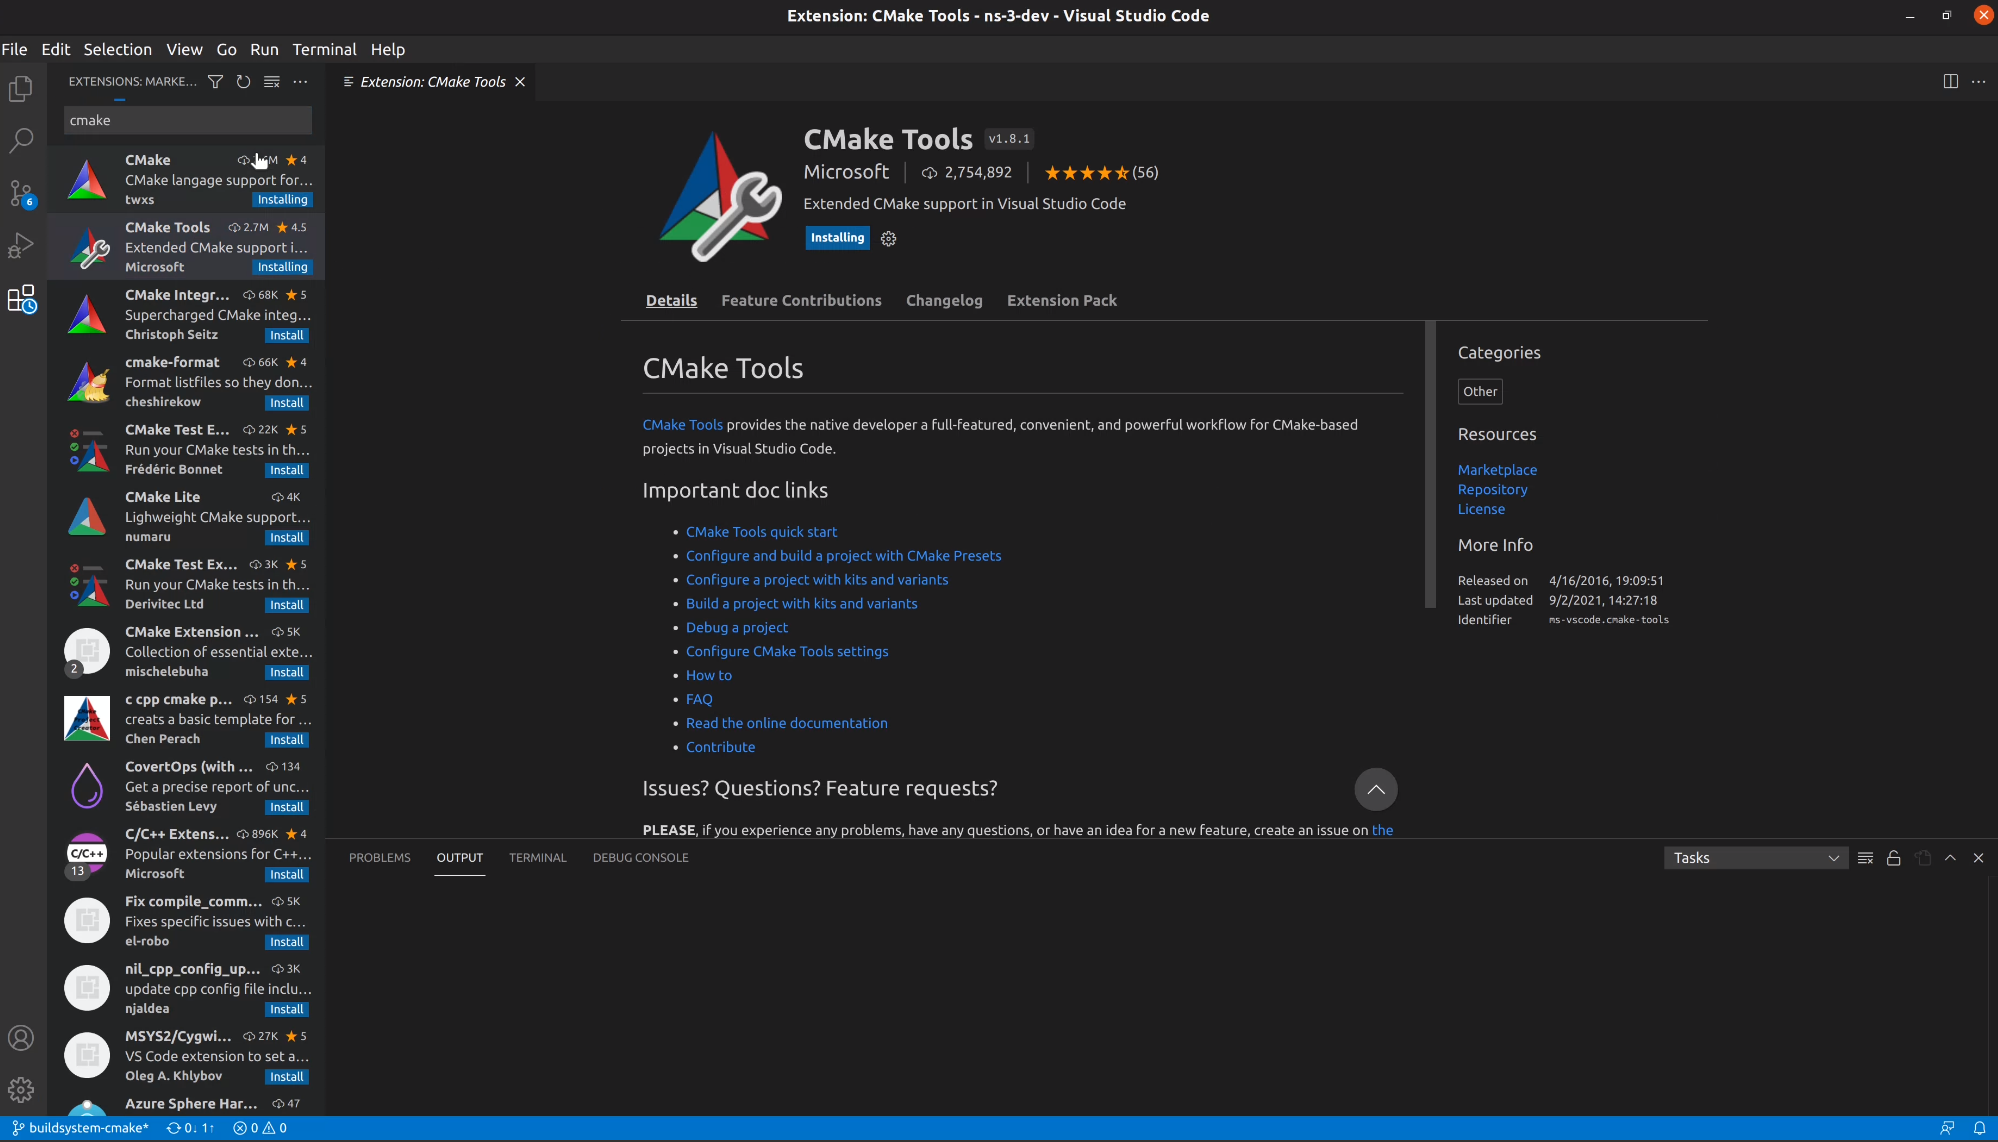
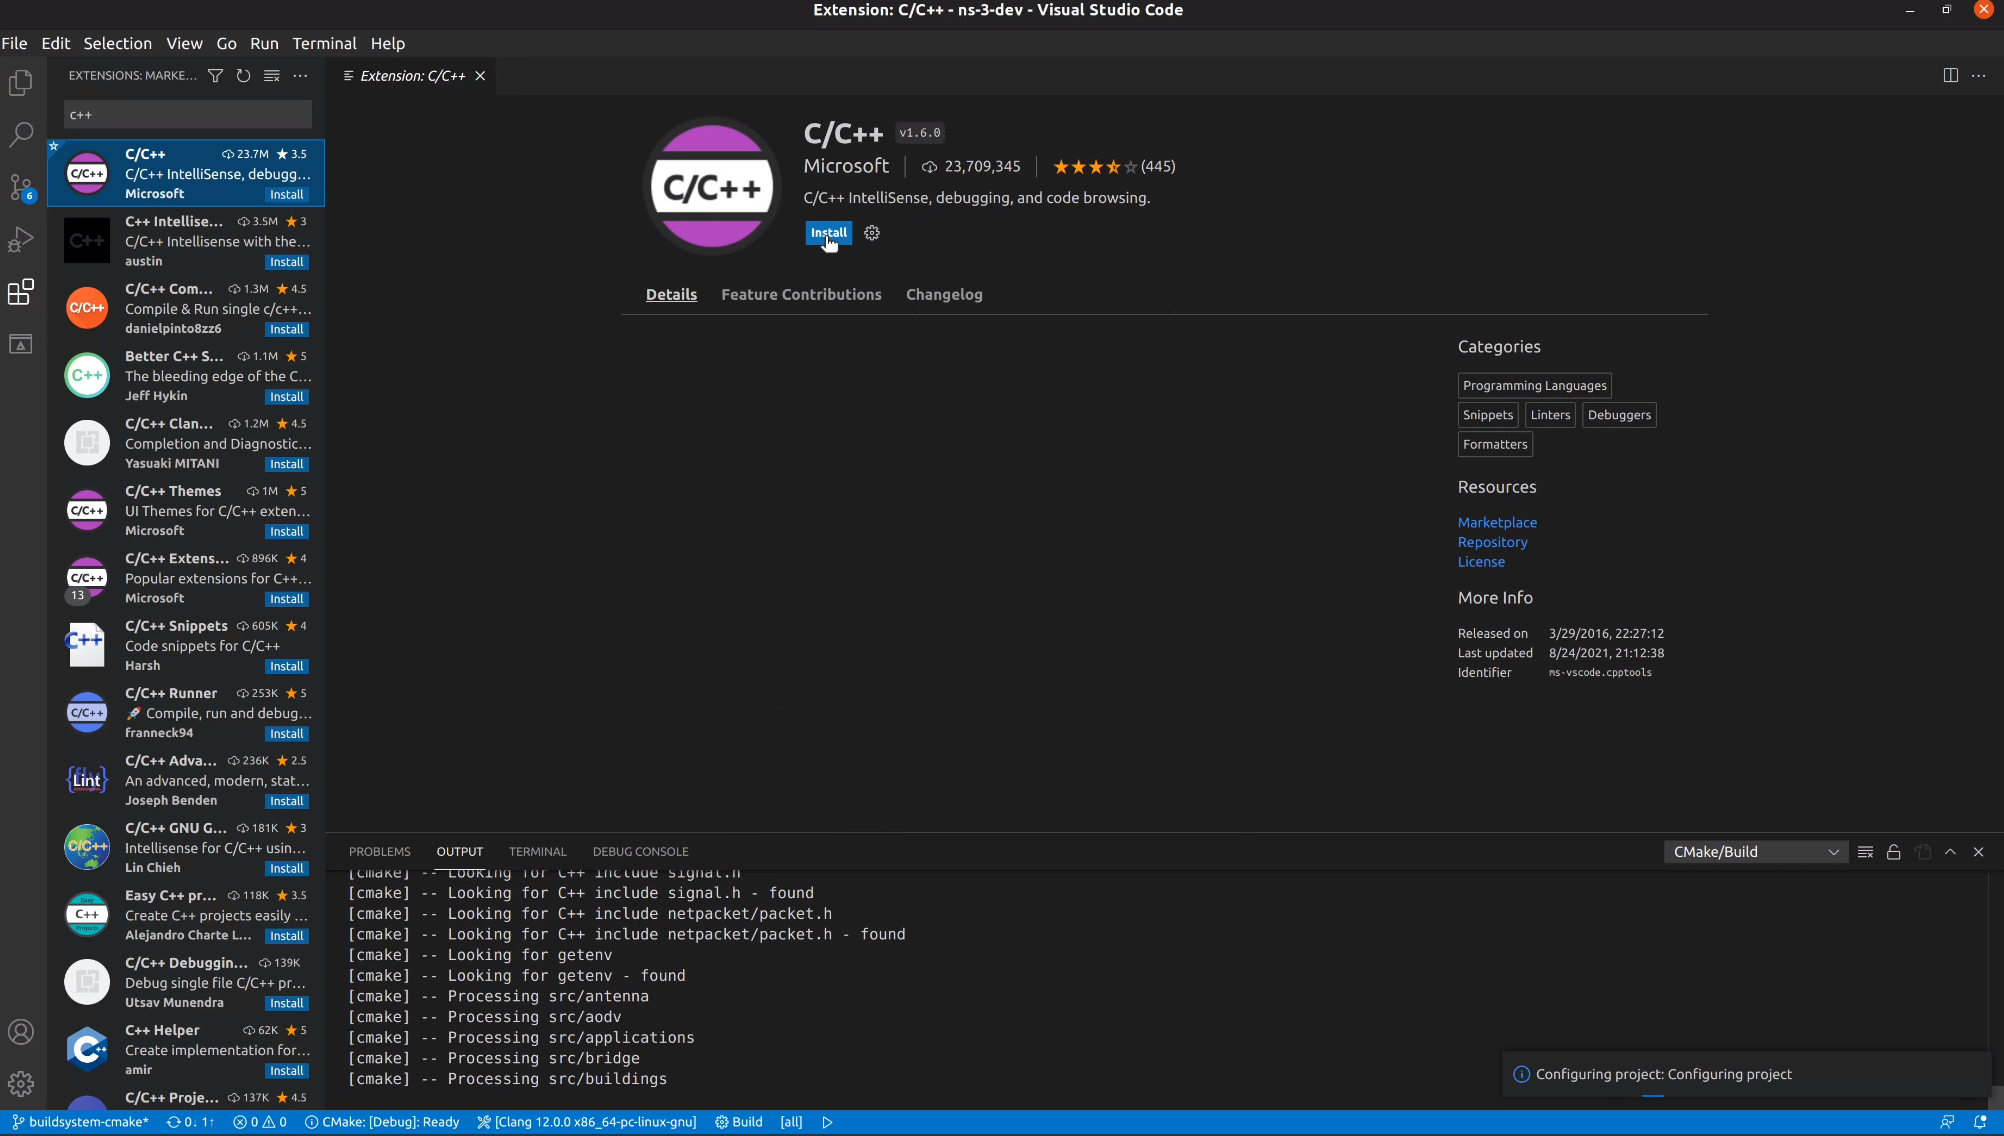
Then install it and then install the CMake and C++ plugins.
This can be done accessing the extensions’ menu button on the left.
It will take a while, but it will locate the available toolchains for you to use.
3.1 Configuring ns-3 with Visual Code
It is literally just opening the ns-3-dev folder. It will run CMake automatically.
After that, you can choose ns-3 features opening the CMake cache and toggling them on or off.
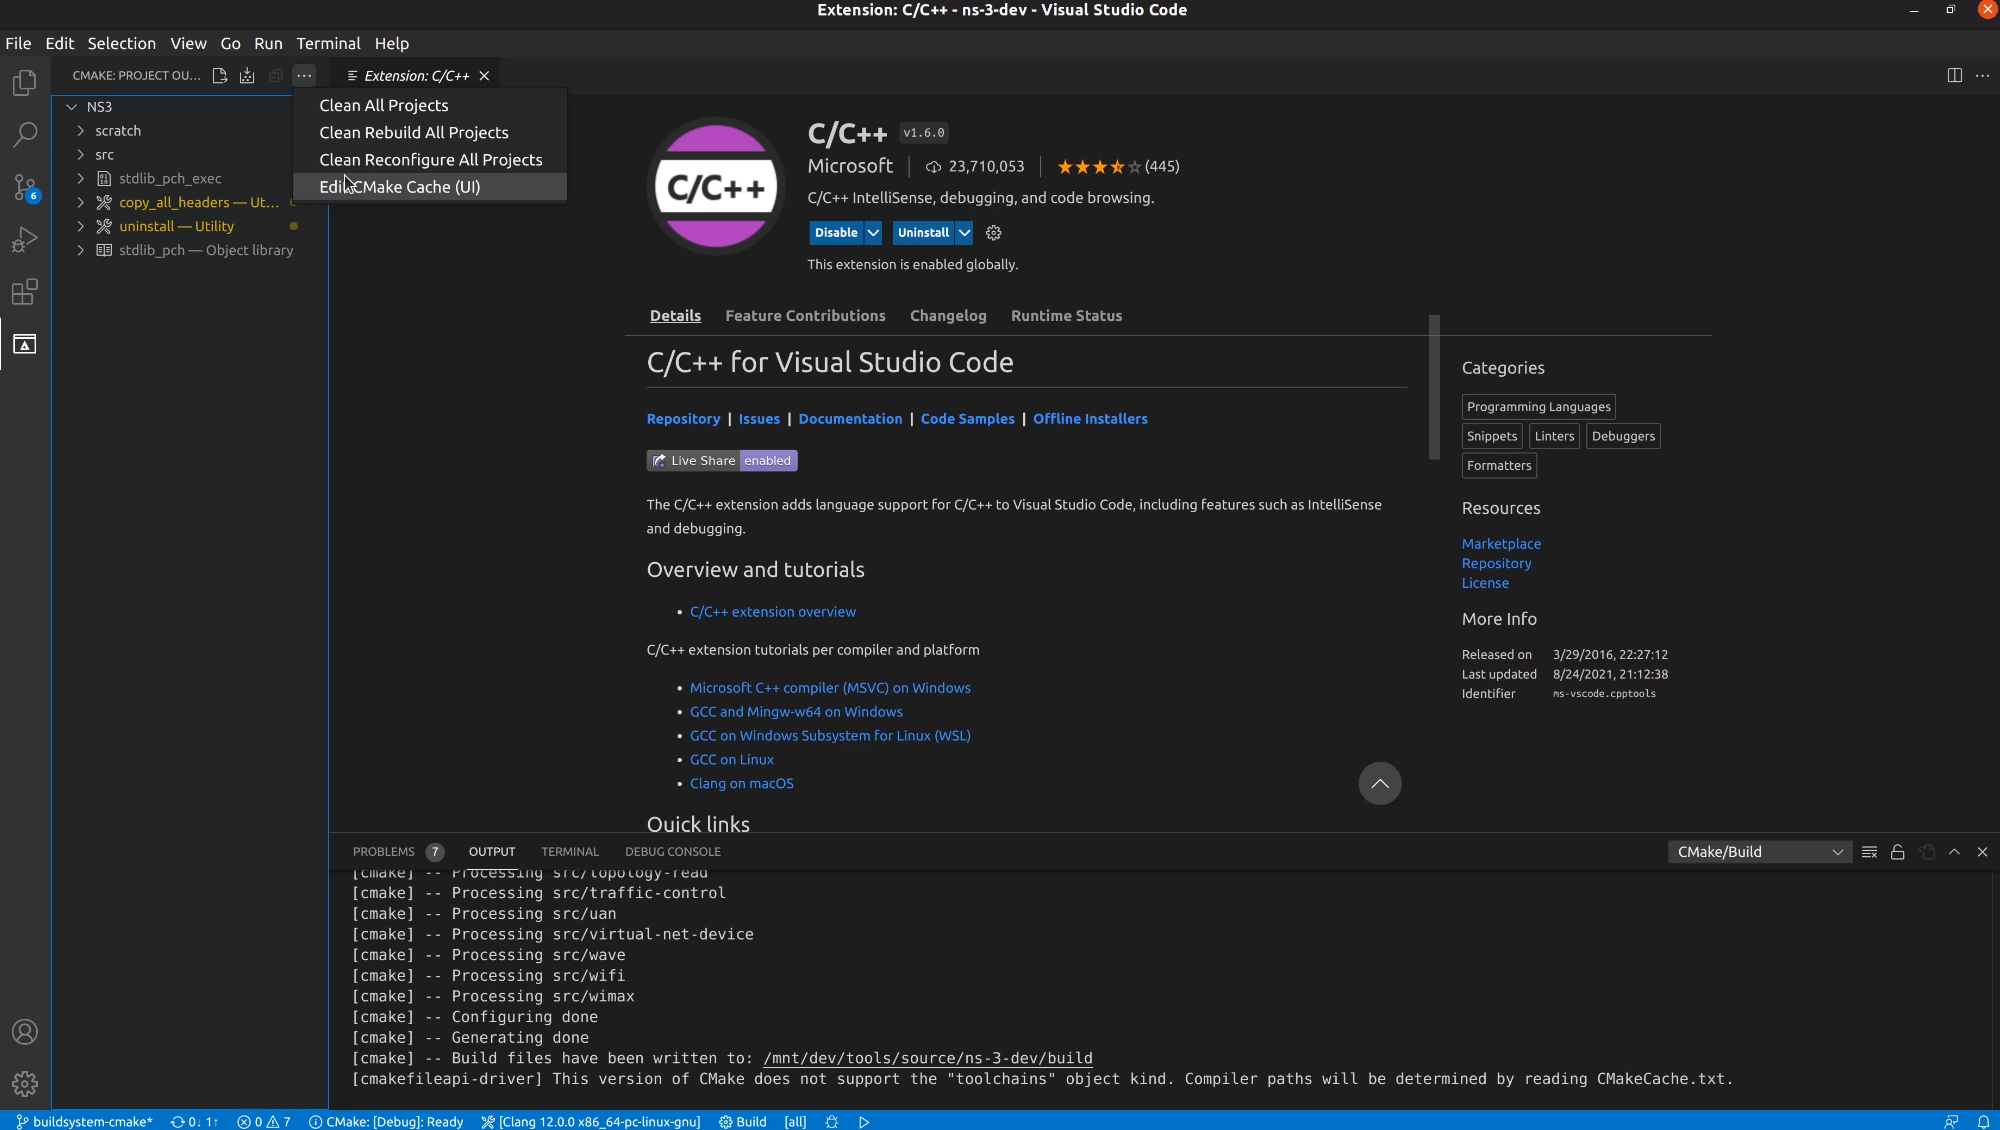
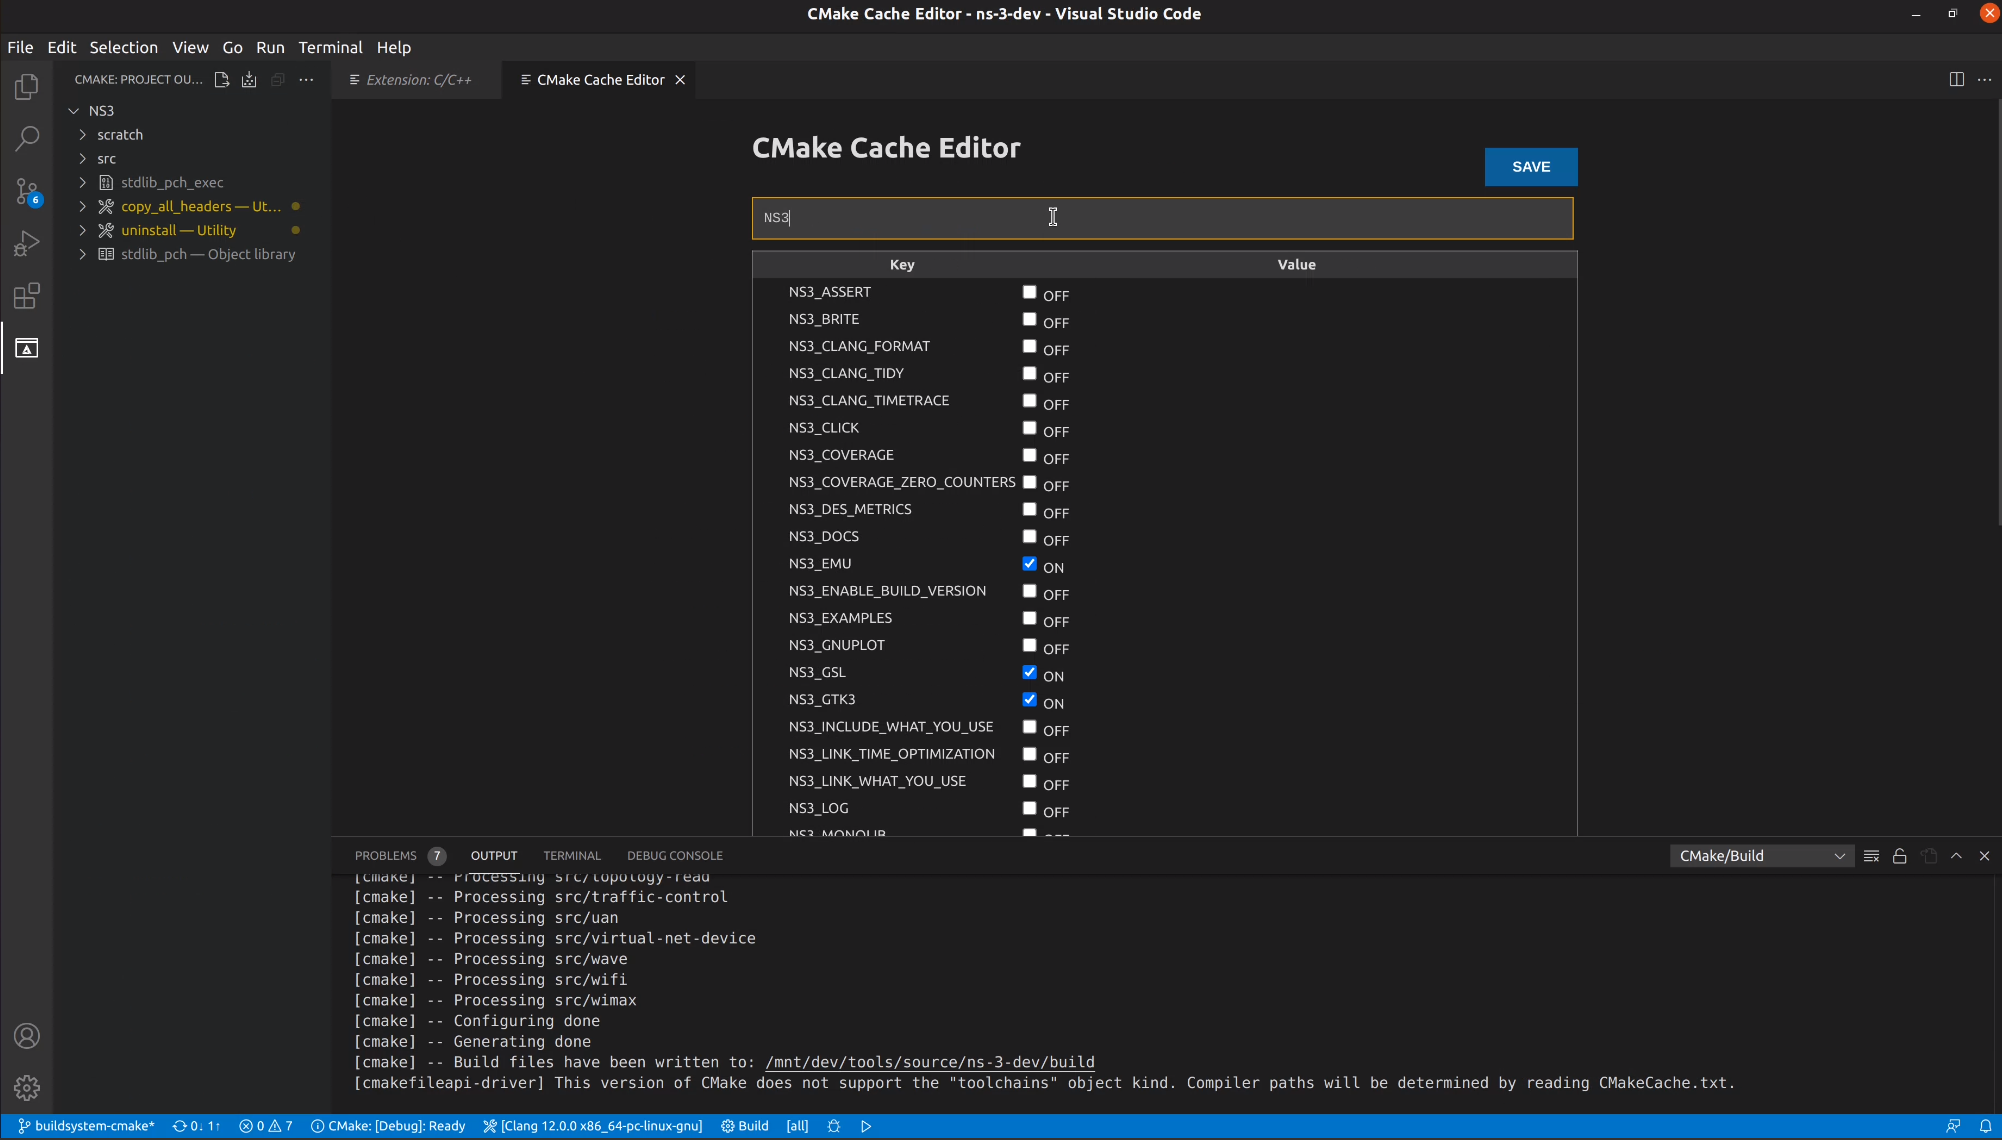
I’m going to enable examples now.
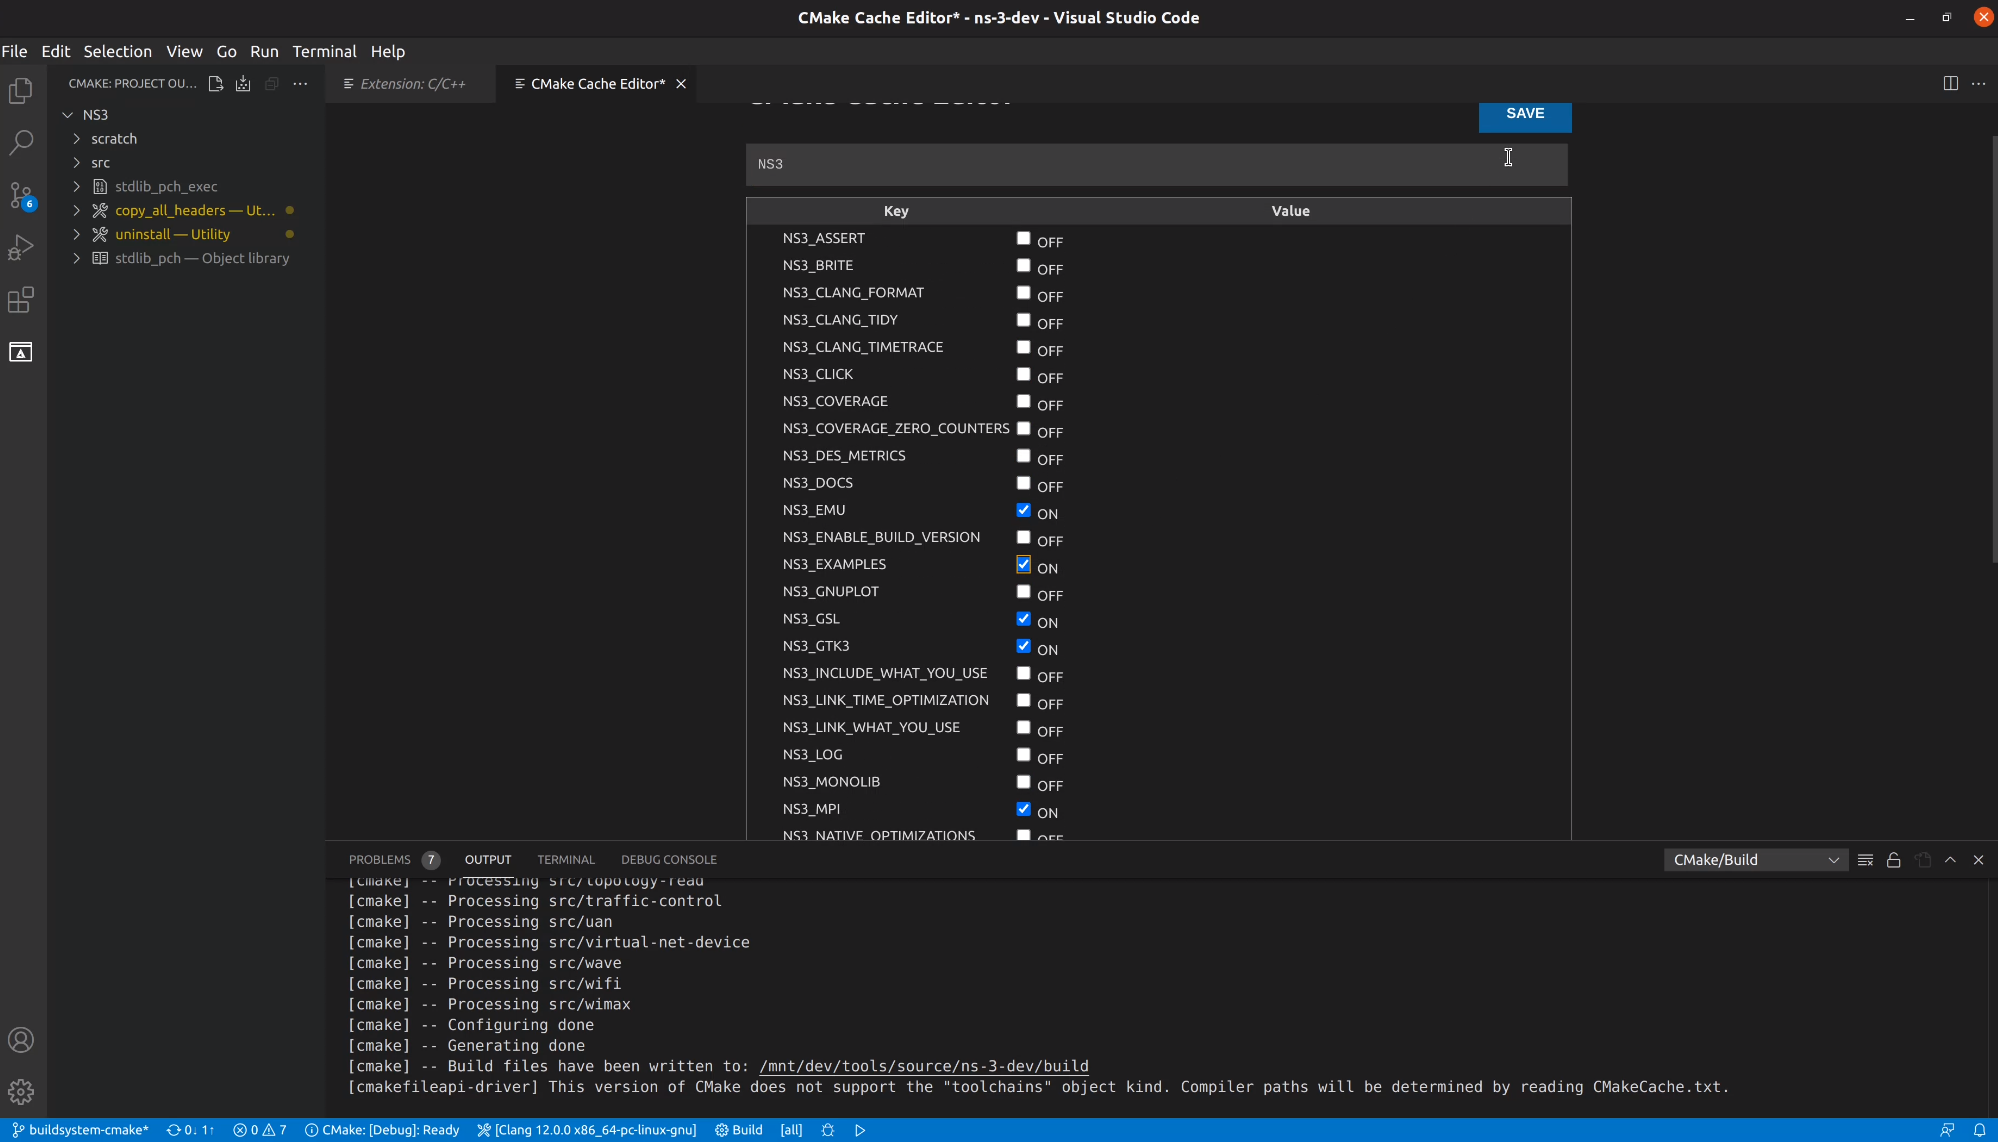
Boom. Just like that cmake will run and update the targets on the left side of the screen in the CMake menu.
3.2 Building the project with VS Code
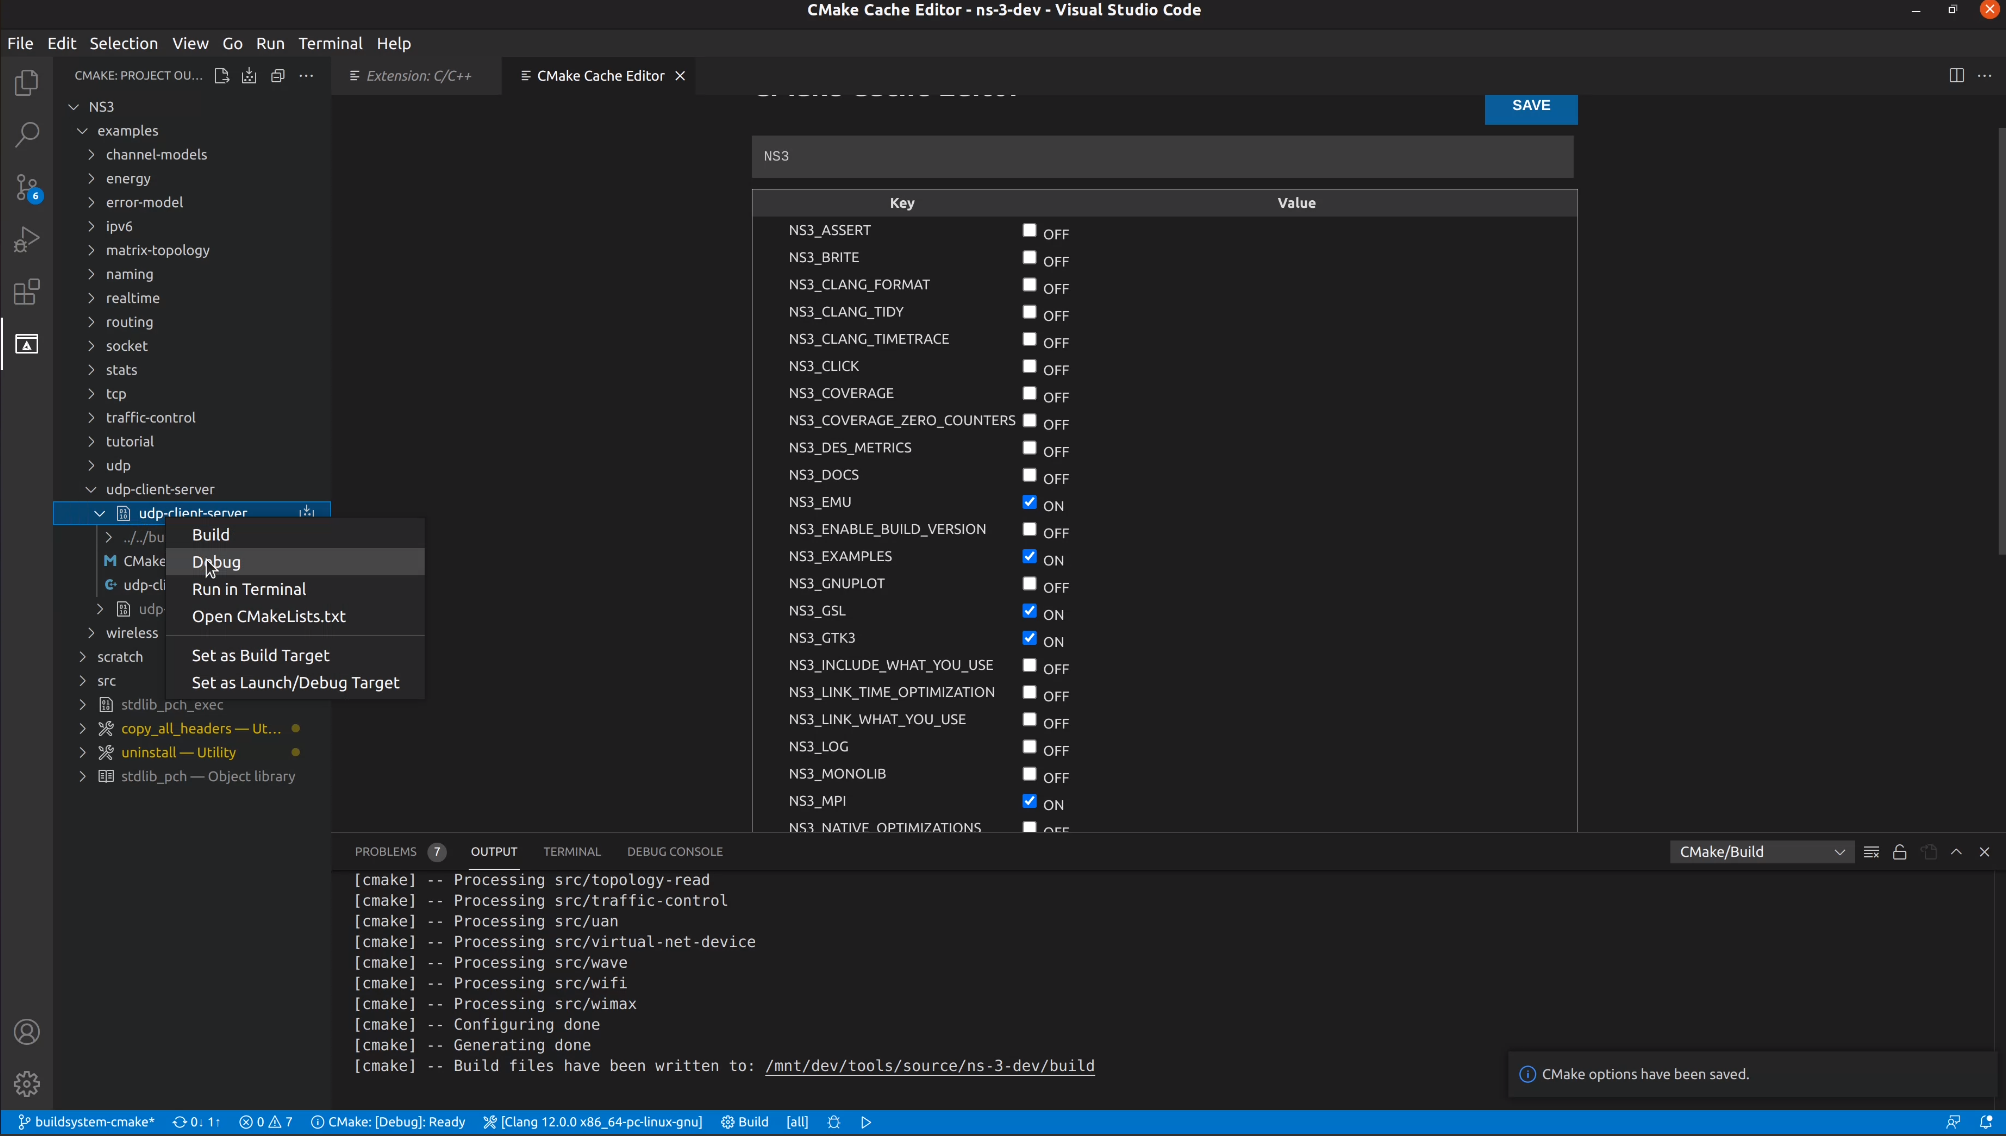
We can now select which target we want to build/debug on the left side menu.
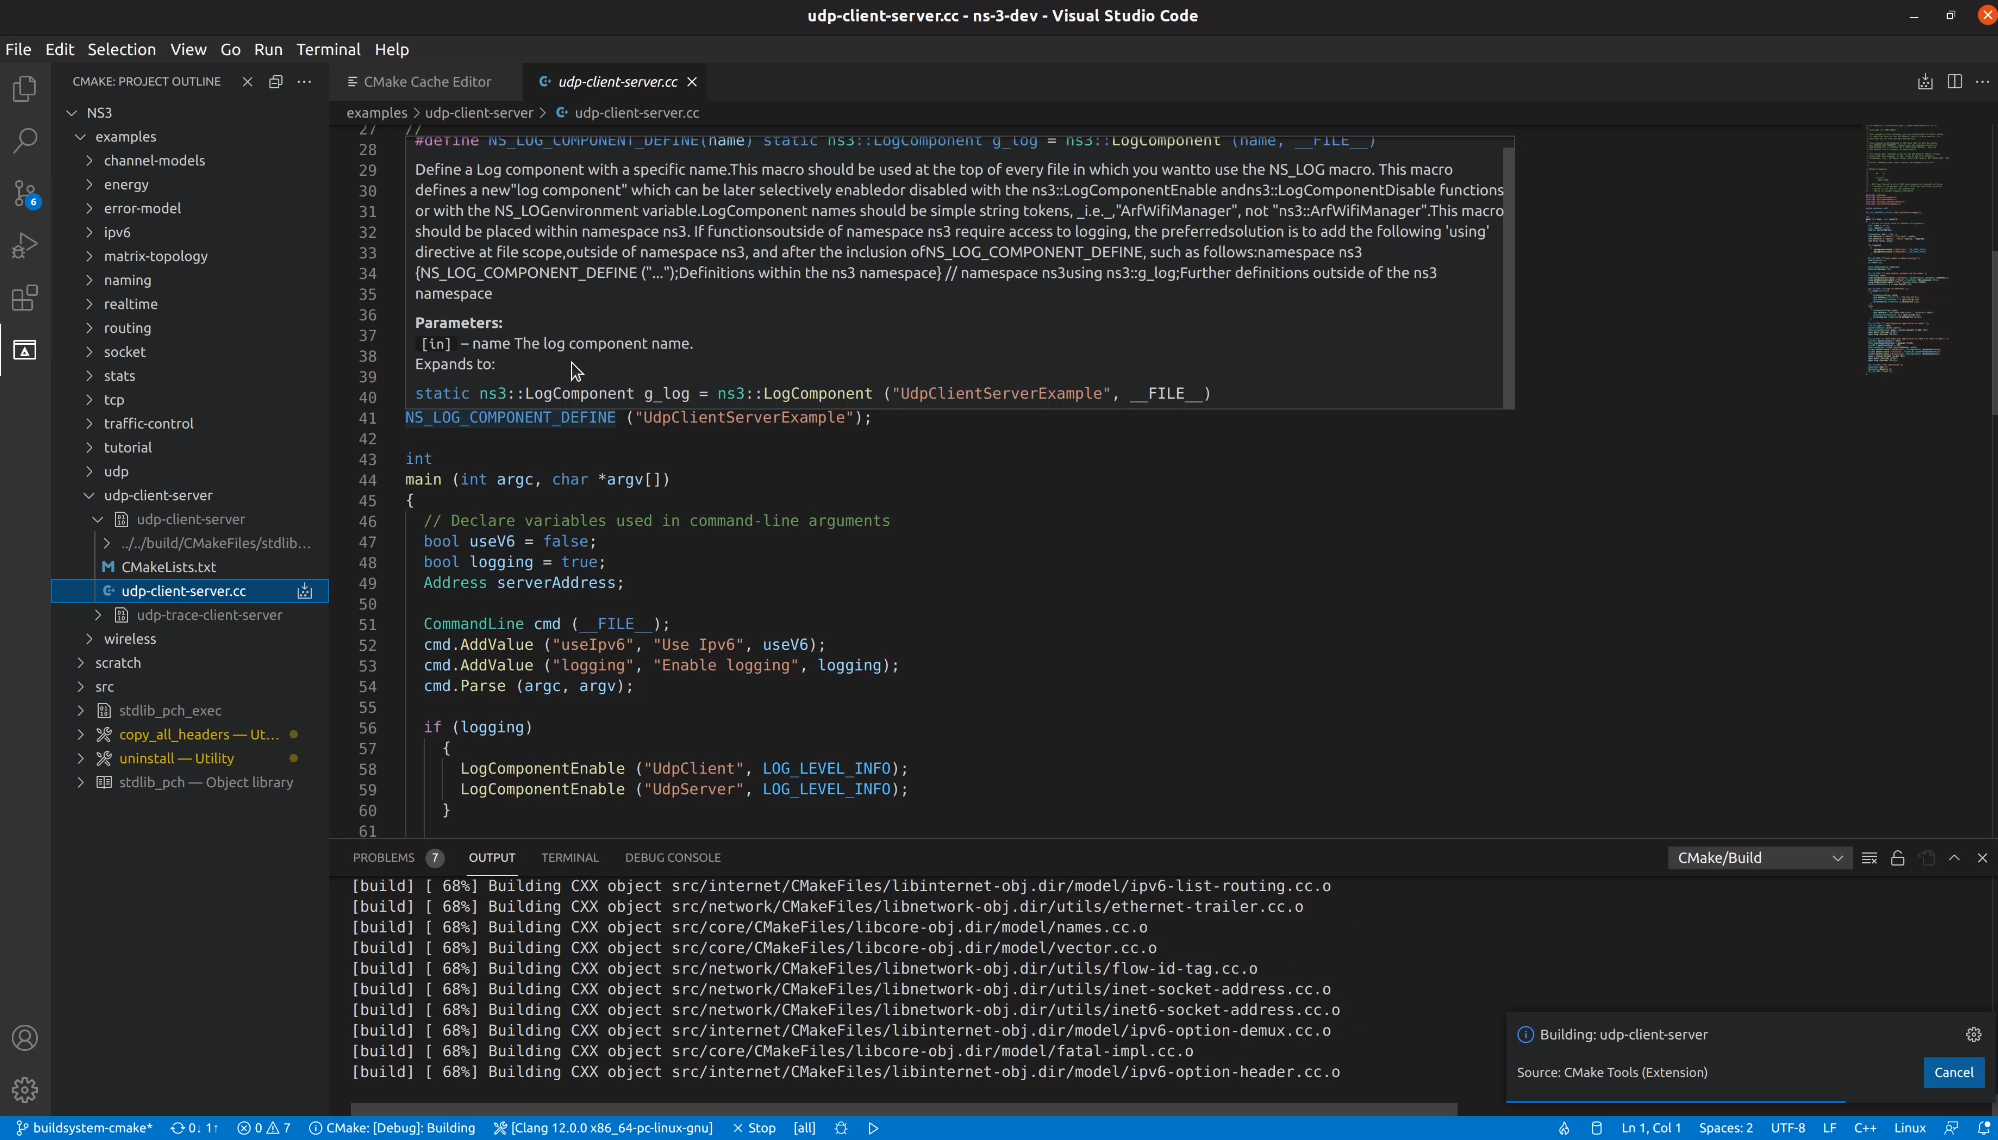
I’m going to pick a random example and click to debug it. It will be built and debugging
will start right after that.
While we wait for the compilation, lets appreciate the macro expansion feature.
3.3 Running executables with VS Code
Select the target, right-click to choose to run or debug, like in the previous section.
After that, we can open the source file, put a few breakpoints and debug.
